Mugs Mugs Mugs Mugs Mugs
Mugs Mugs Mugs Mugs Mugs
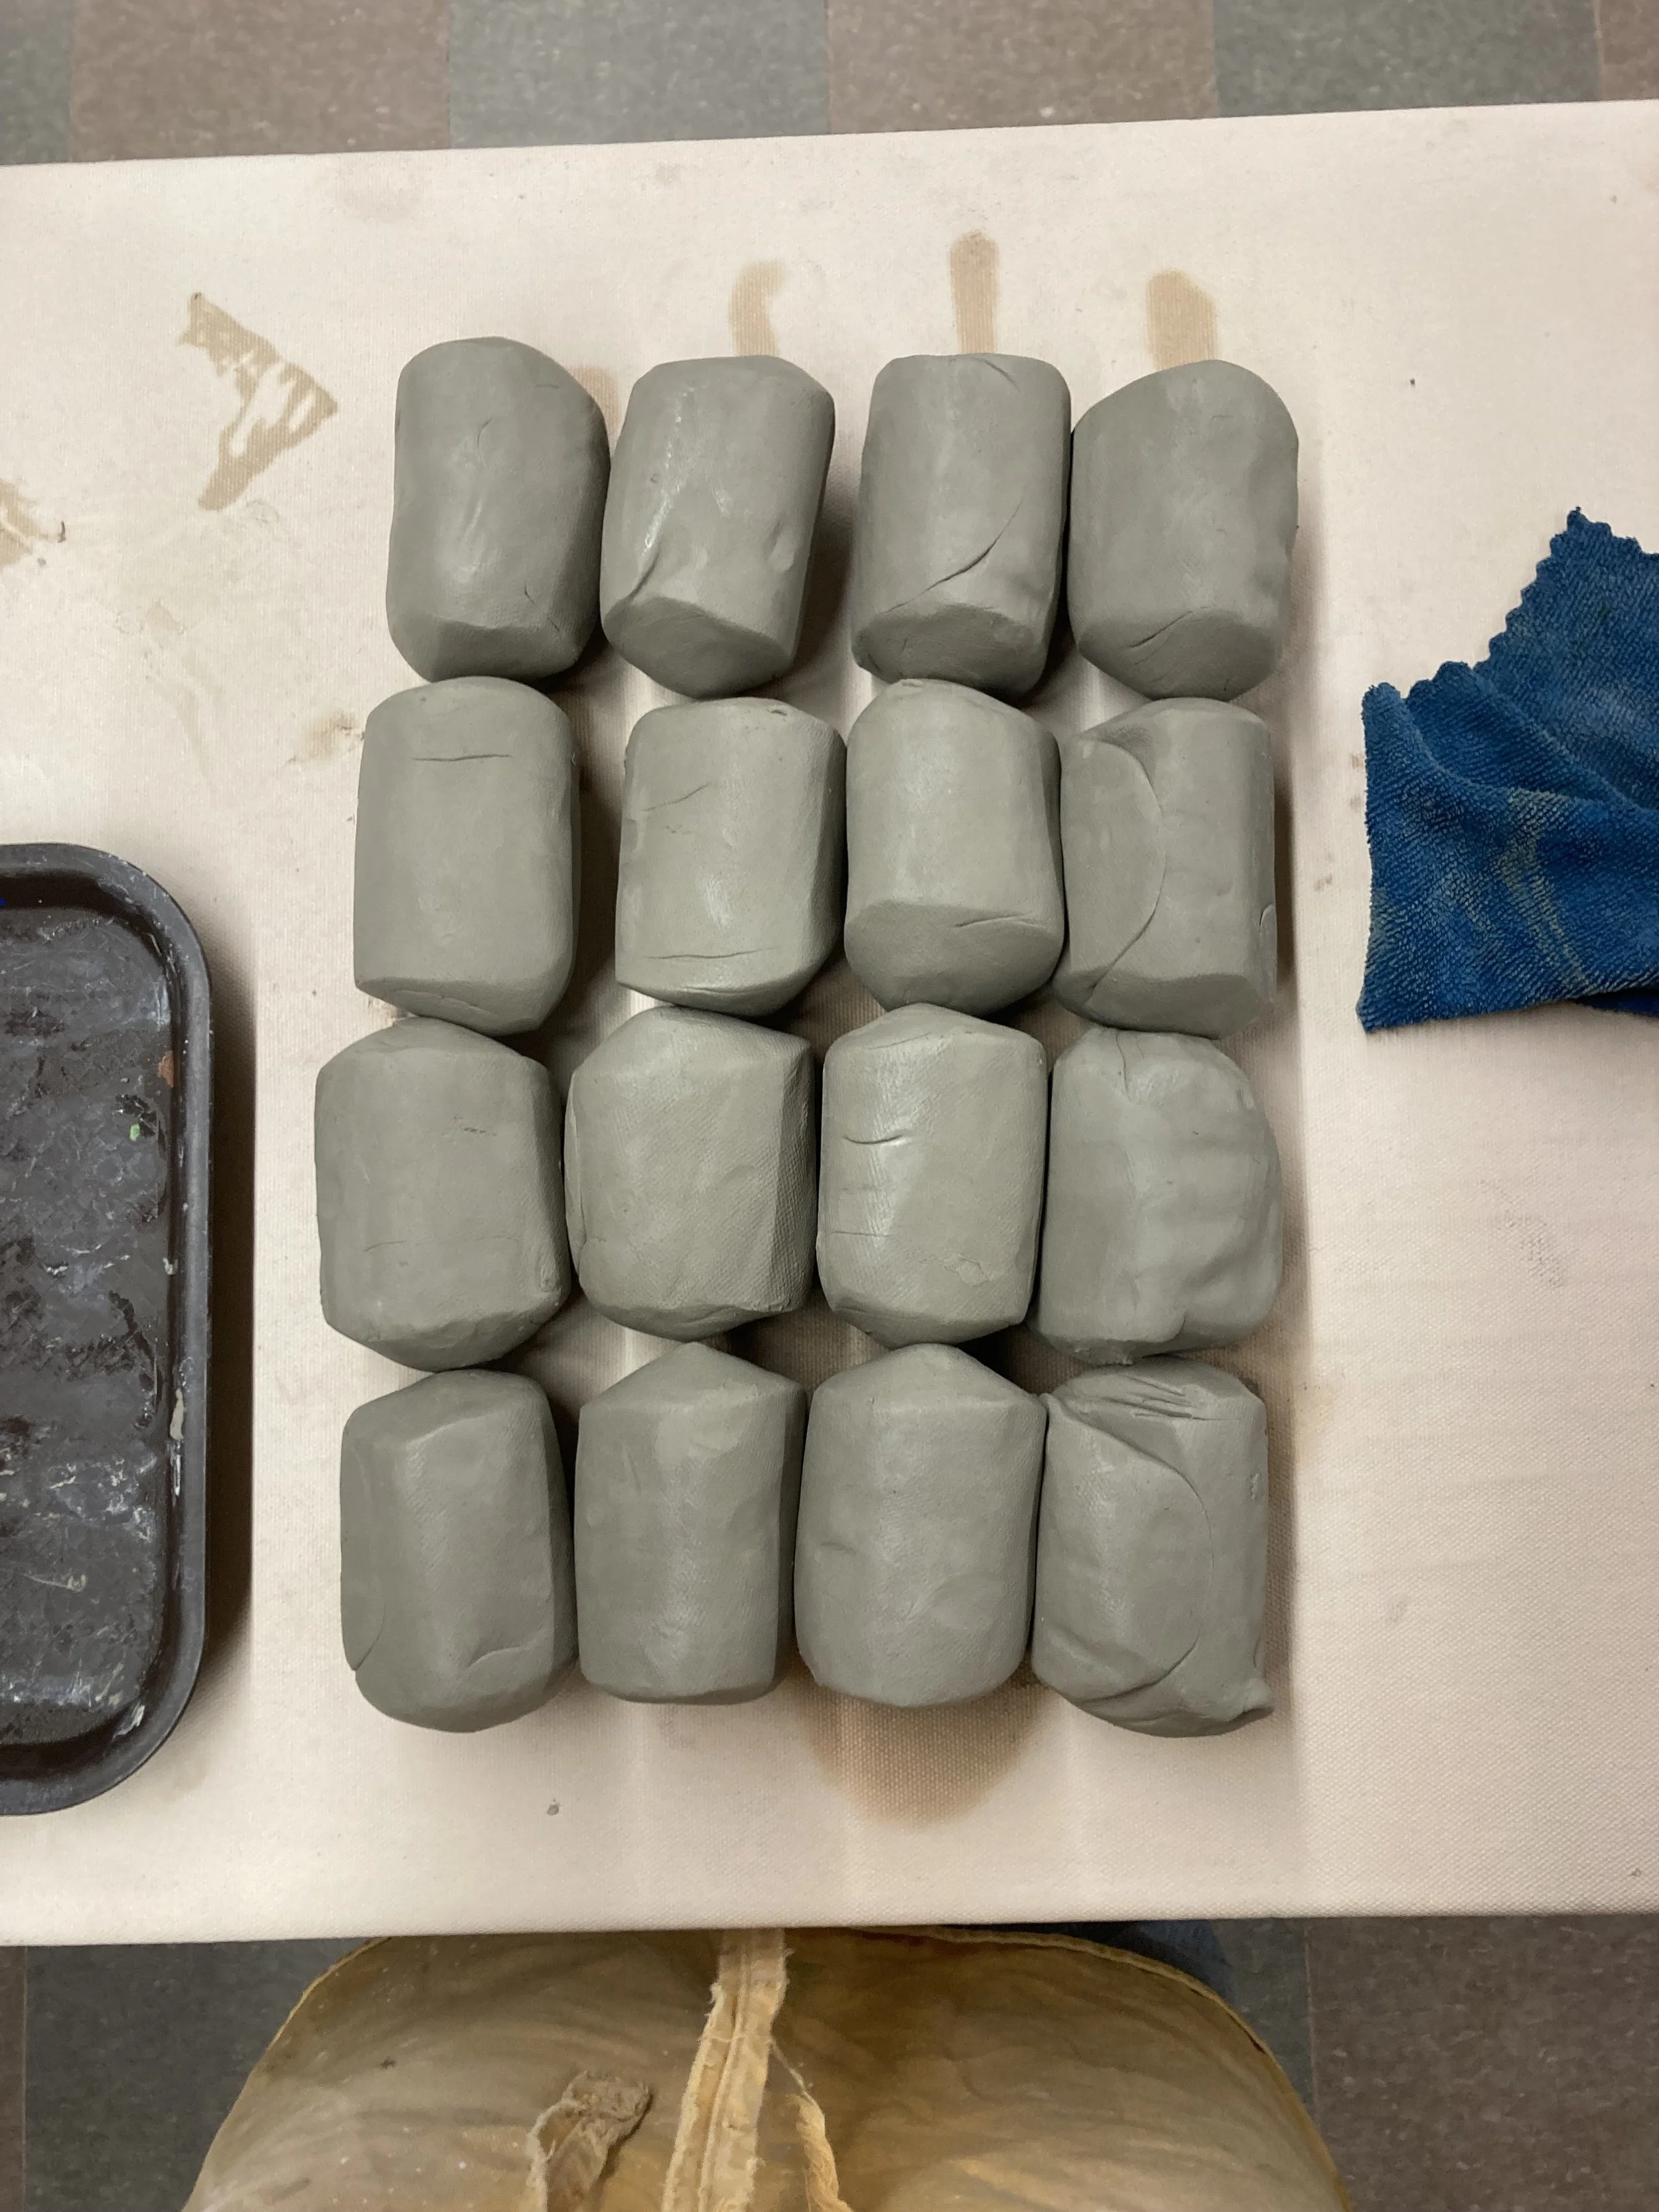
Step 1: Weigh your clay for consistent sizing.

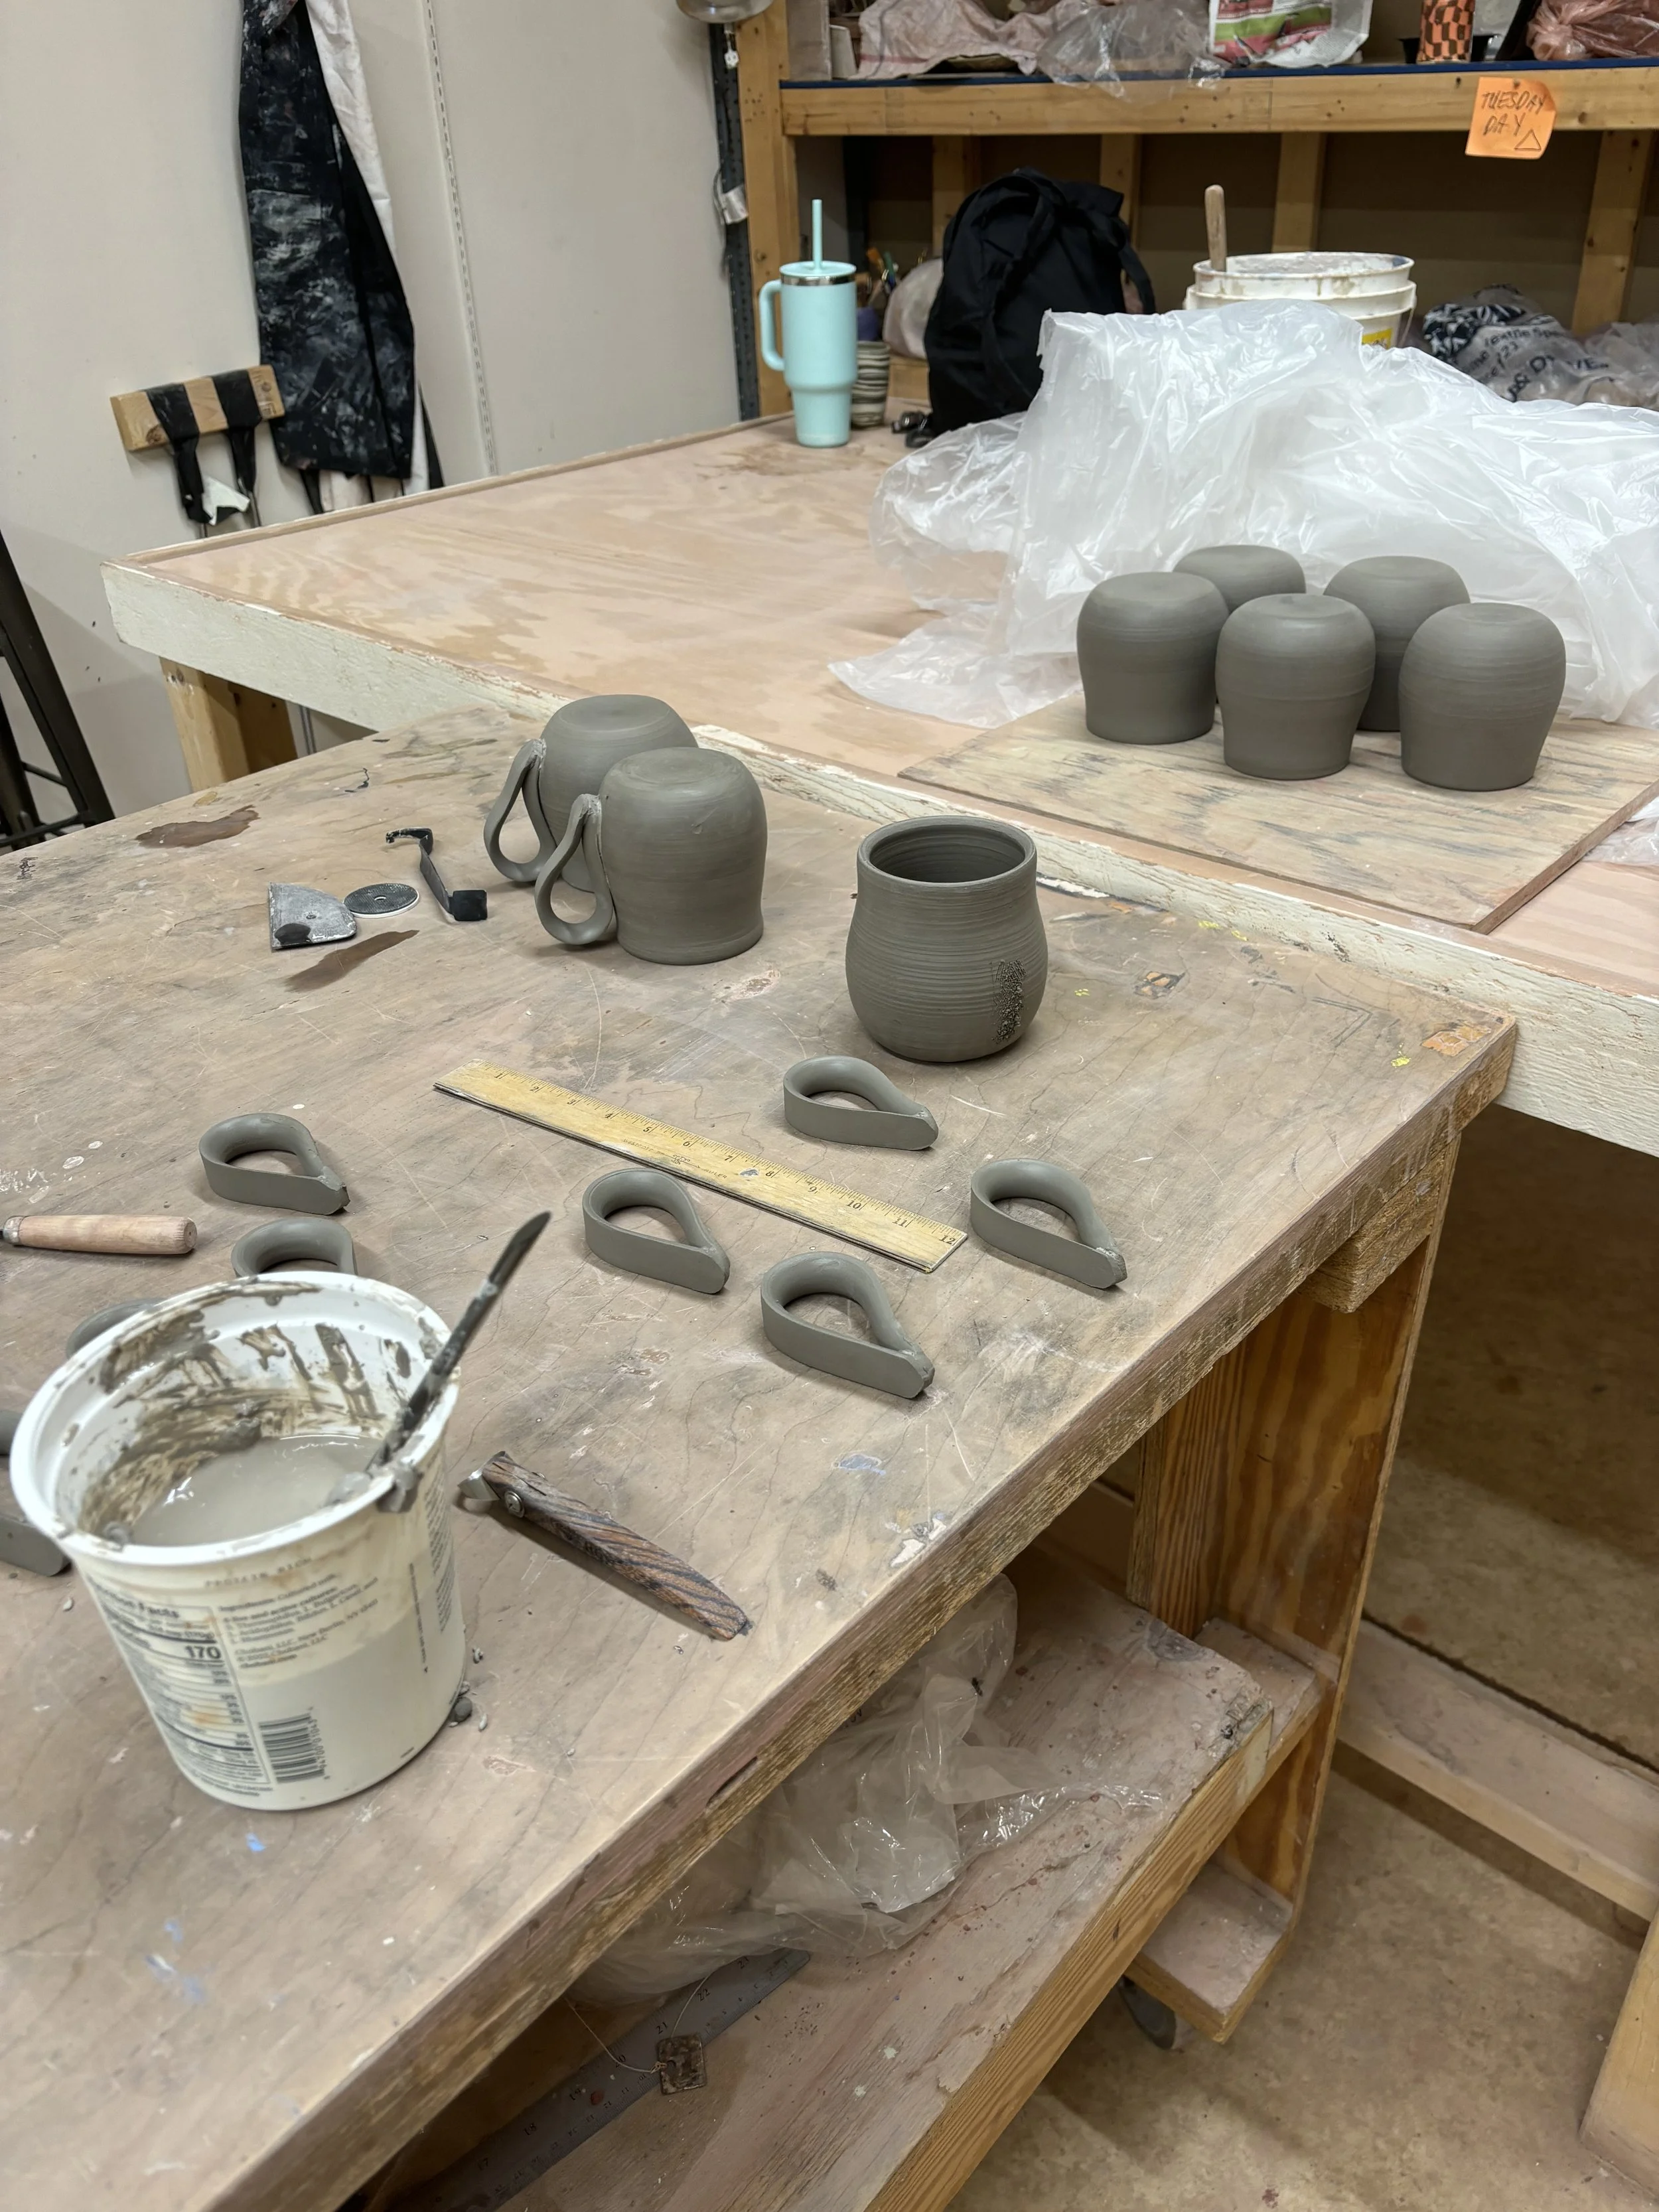
Step 2: Gather your tools and set up at the wheel.

Step 3: Throw your mug body. There are many sub-steps to this step but that is a topic for another day!
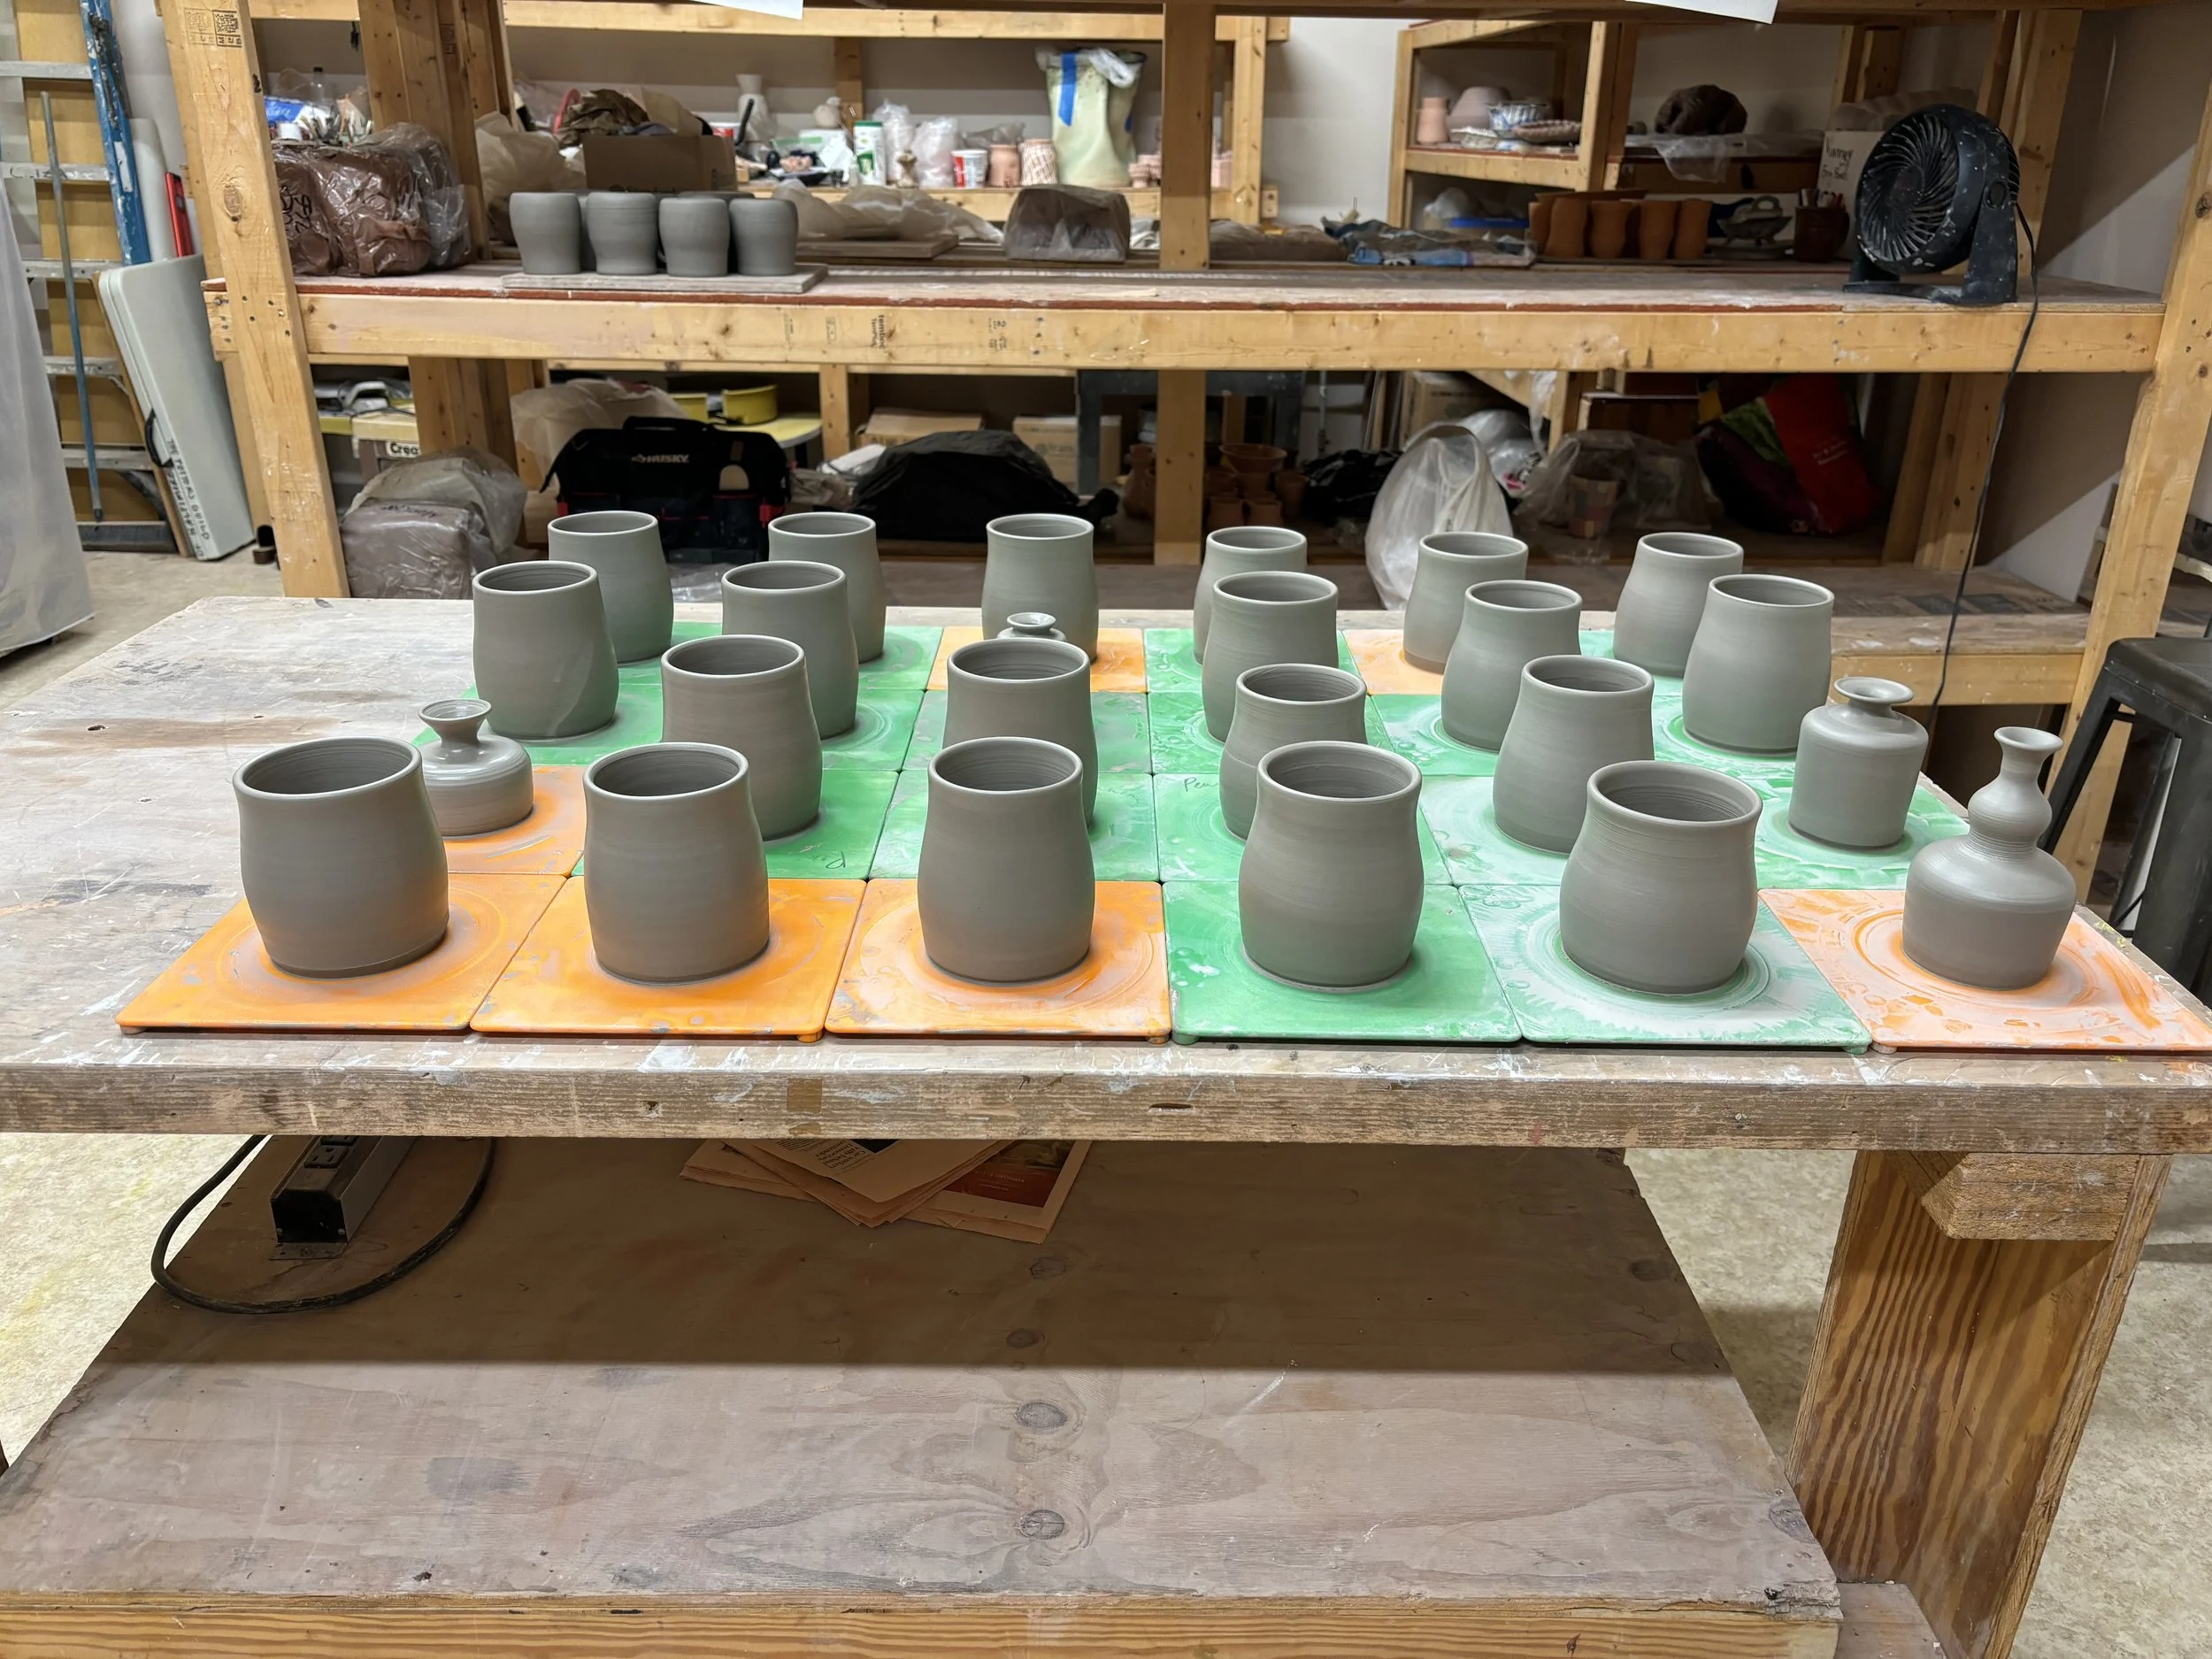
Step 4: Wait a few hours for clay to stiffen slightly.

Step 5: Cut mug body off of the plastic bat with a wire tool and flip over.
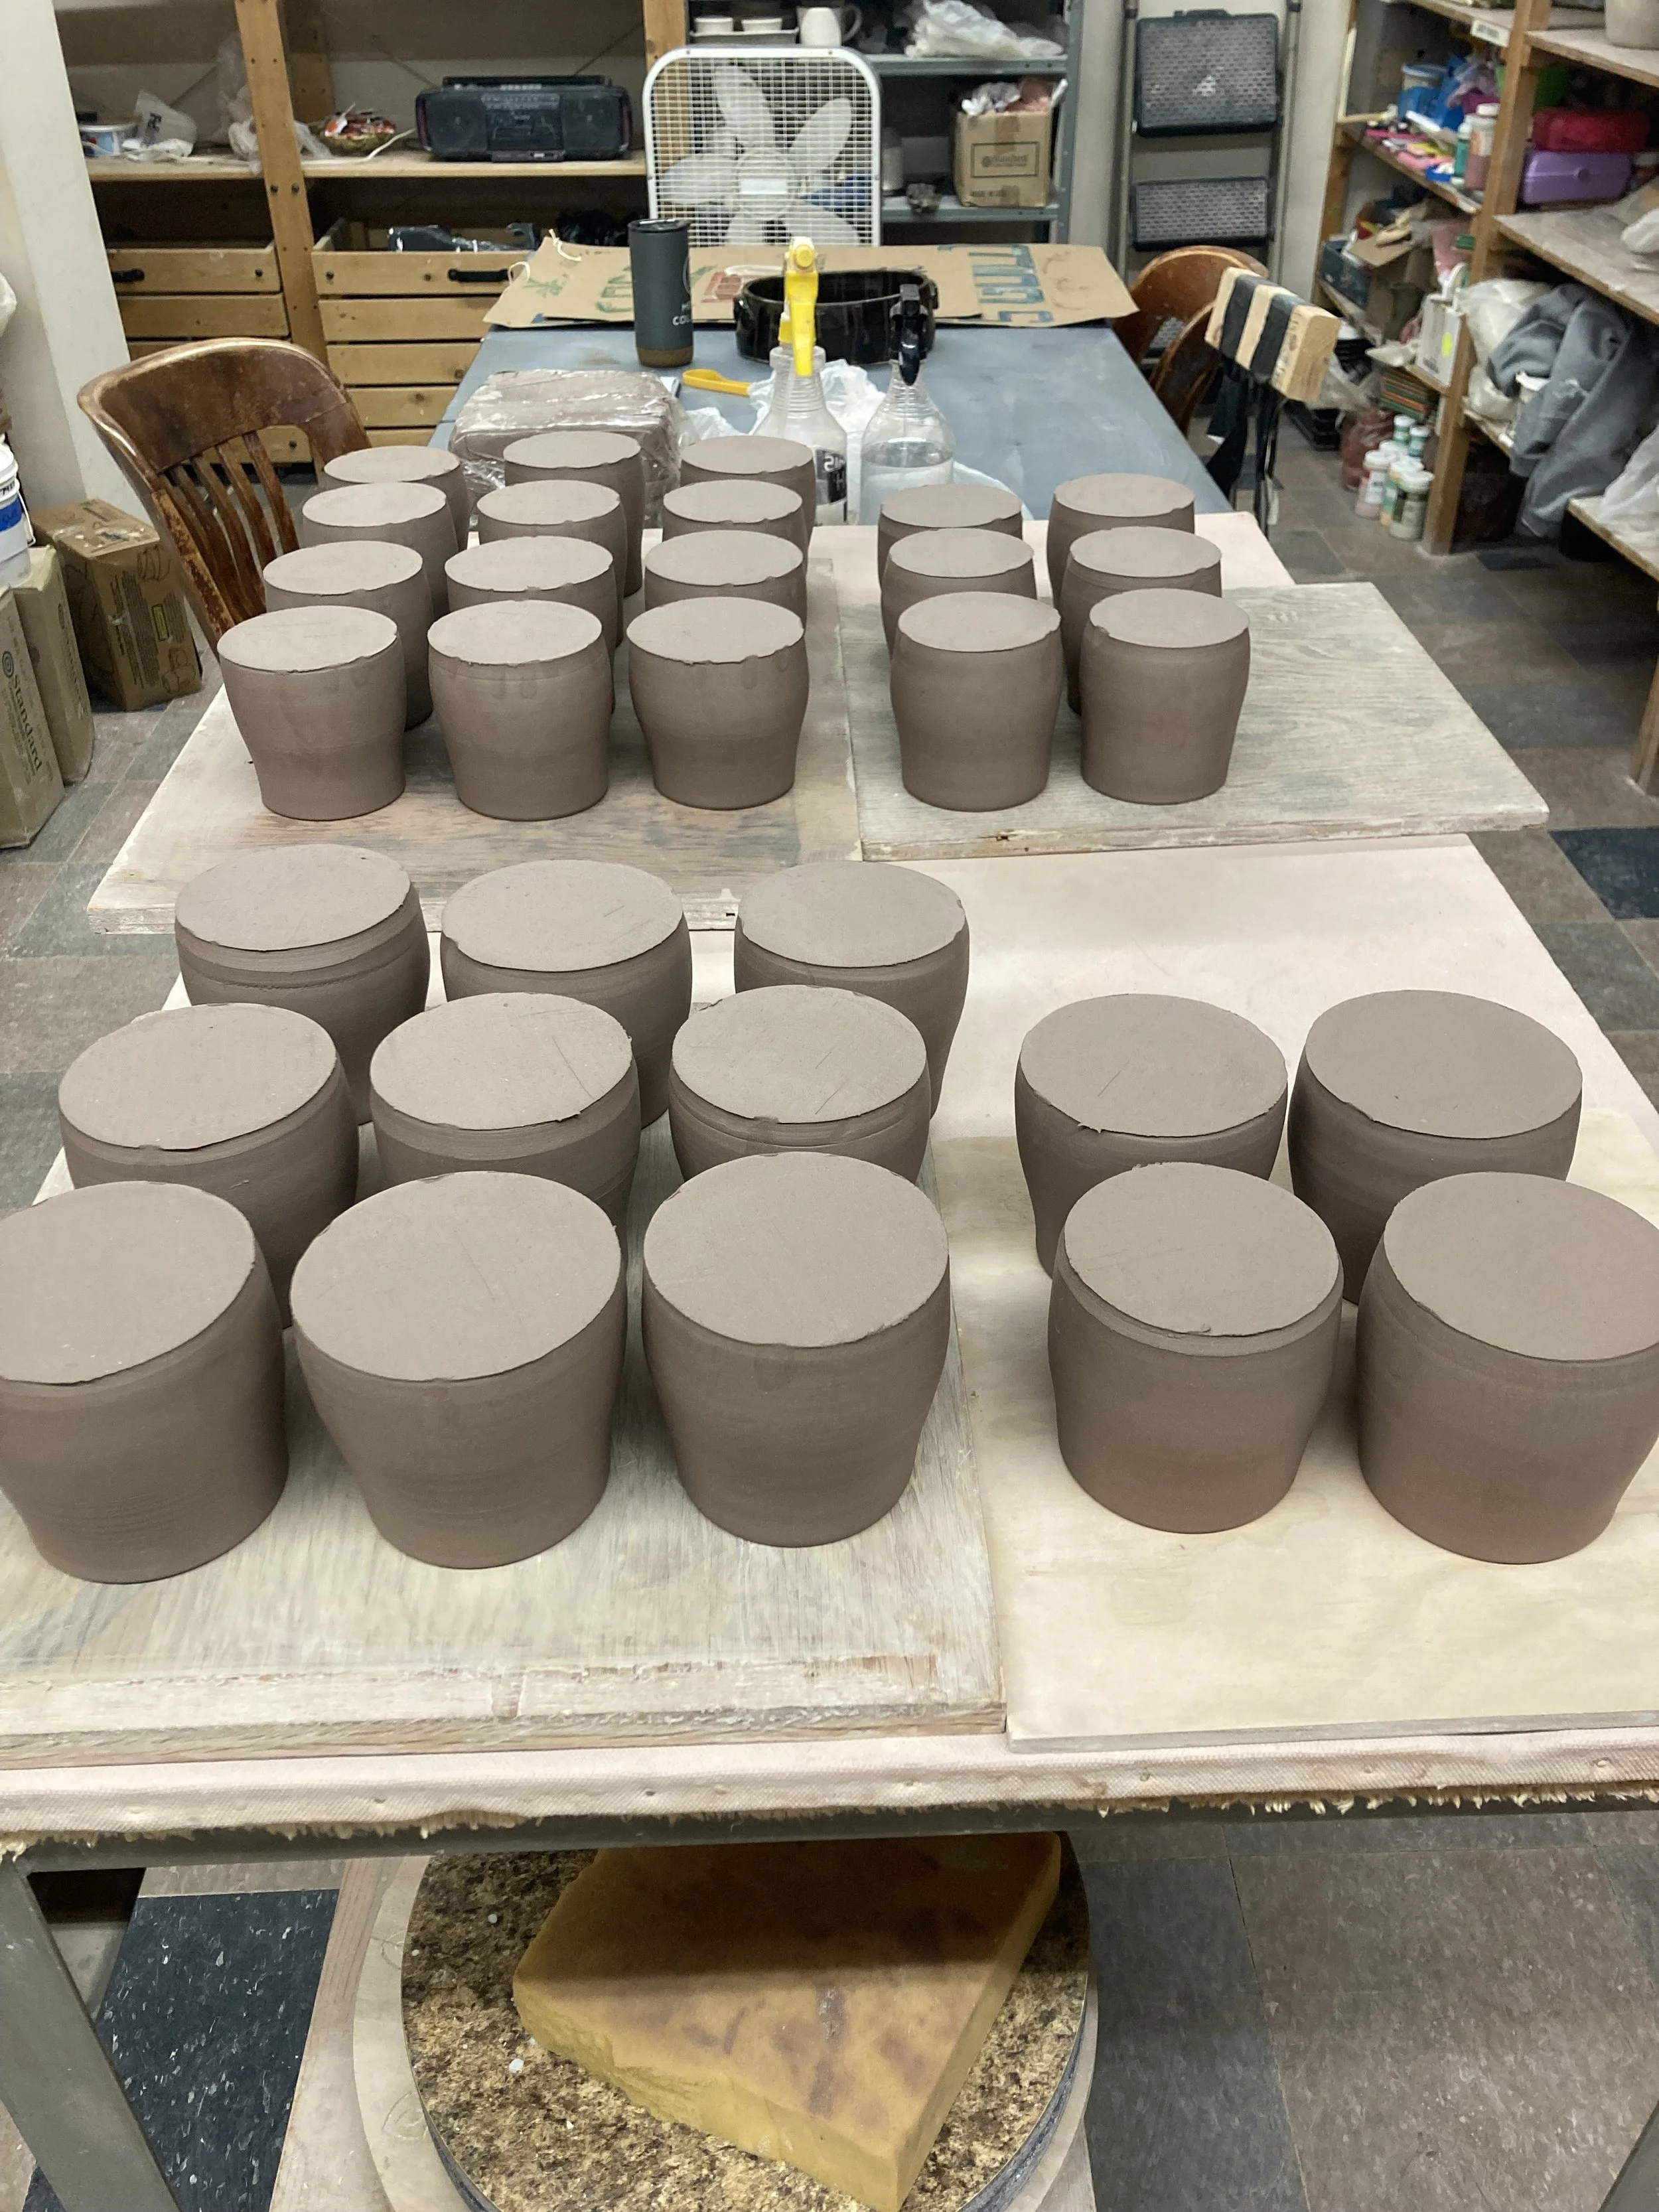
Step 6: Allow mug bottoms to dry slightly.

Step 7: Return your mug body to the wheel, upside-down, and trim the base/foot.
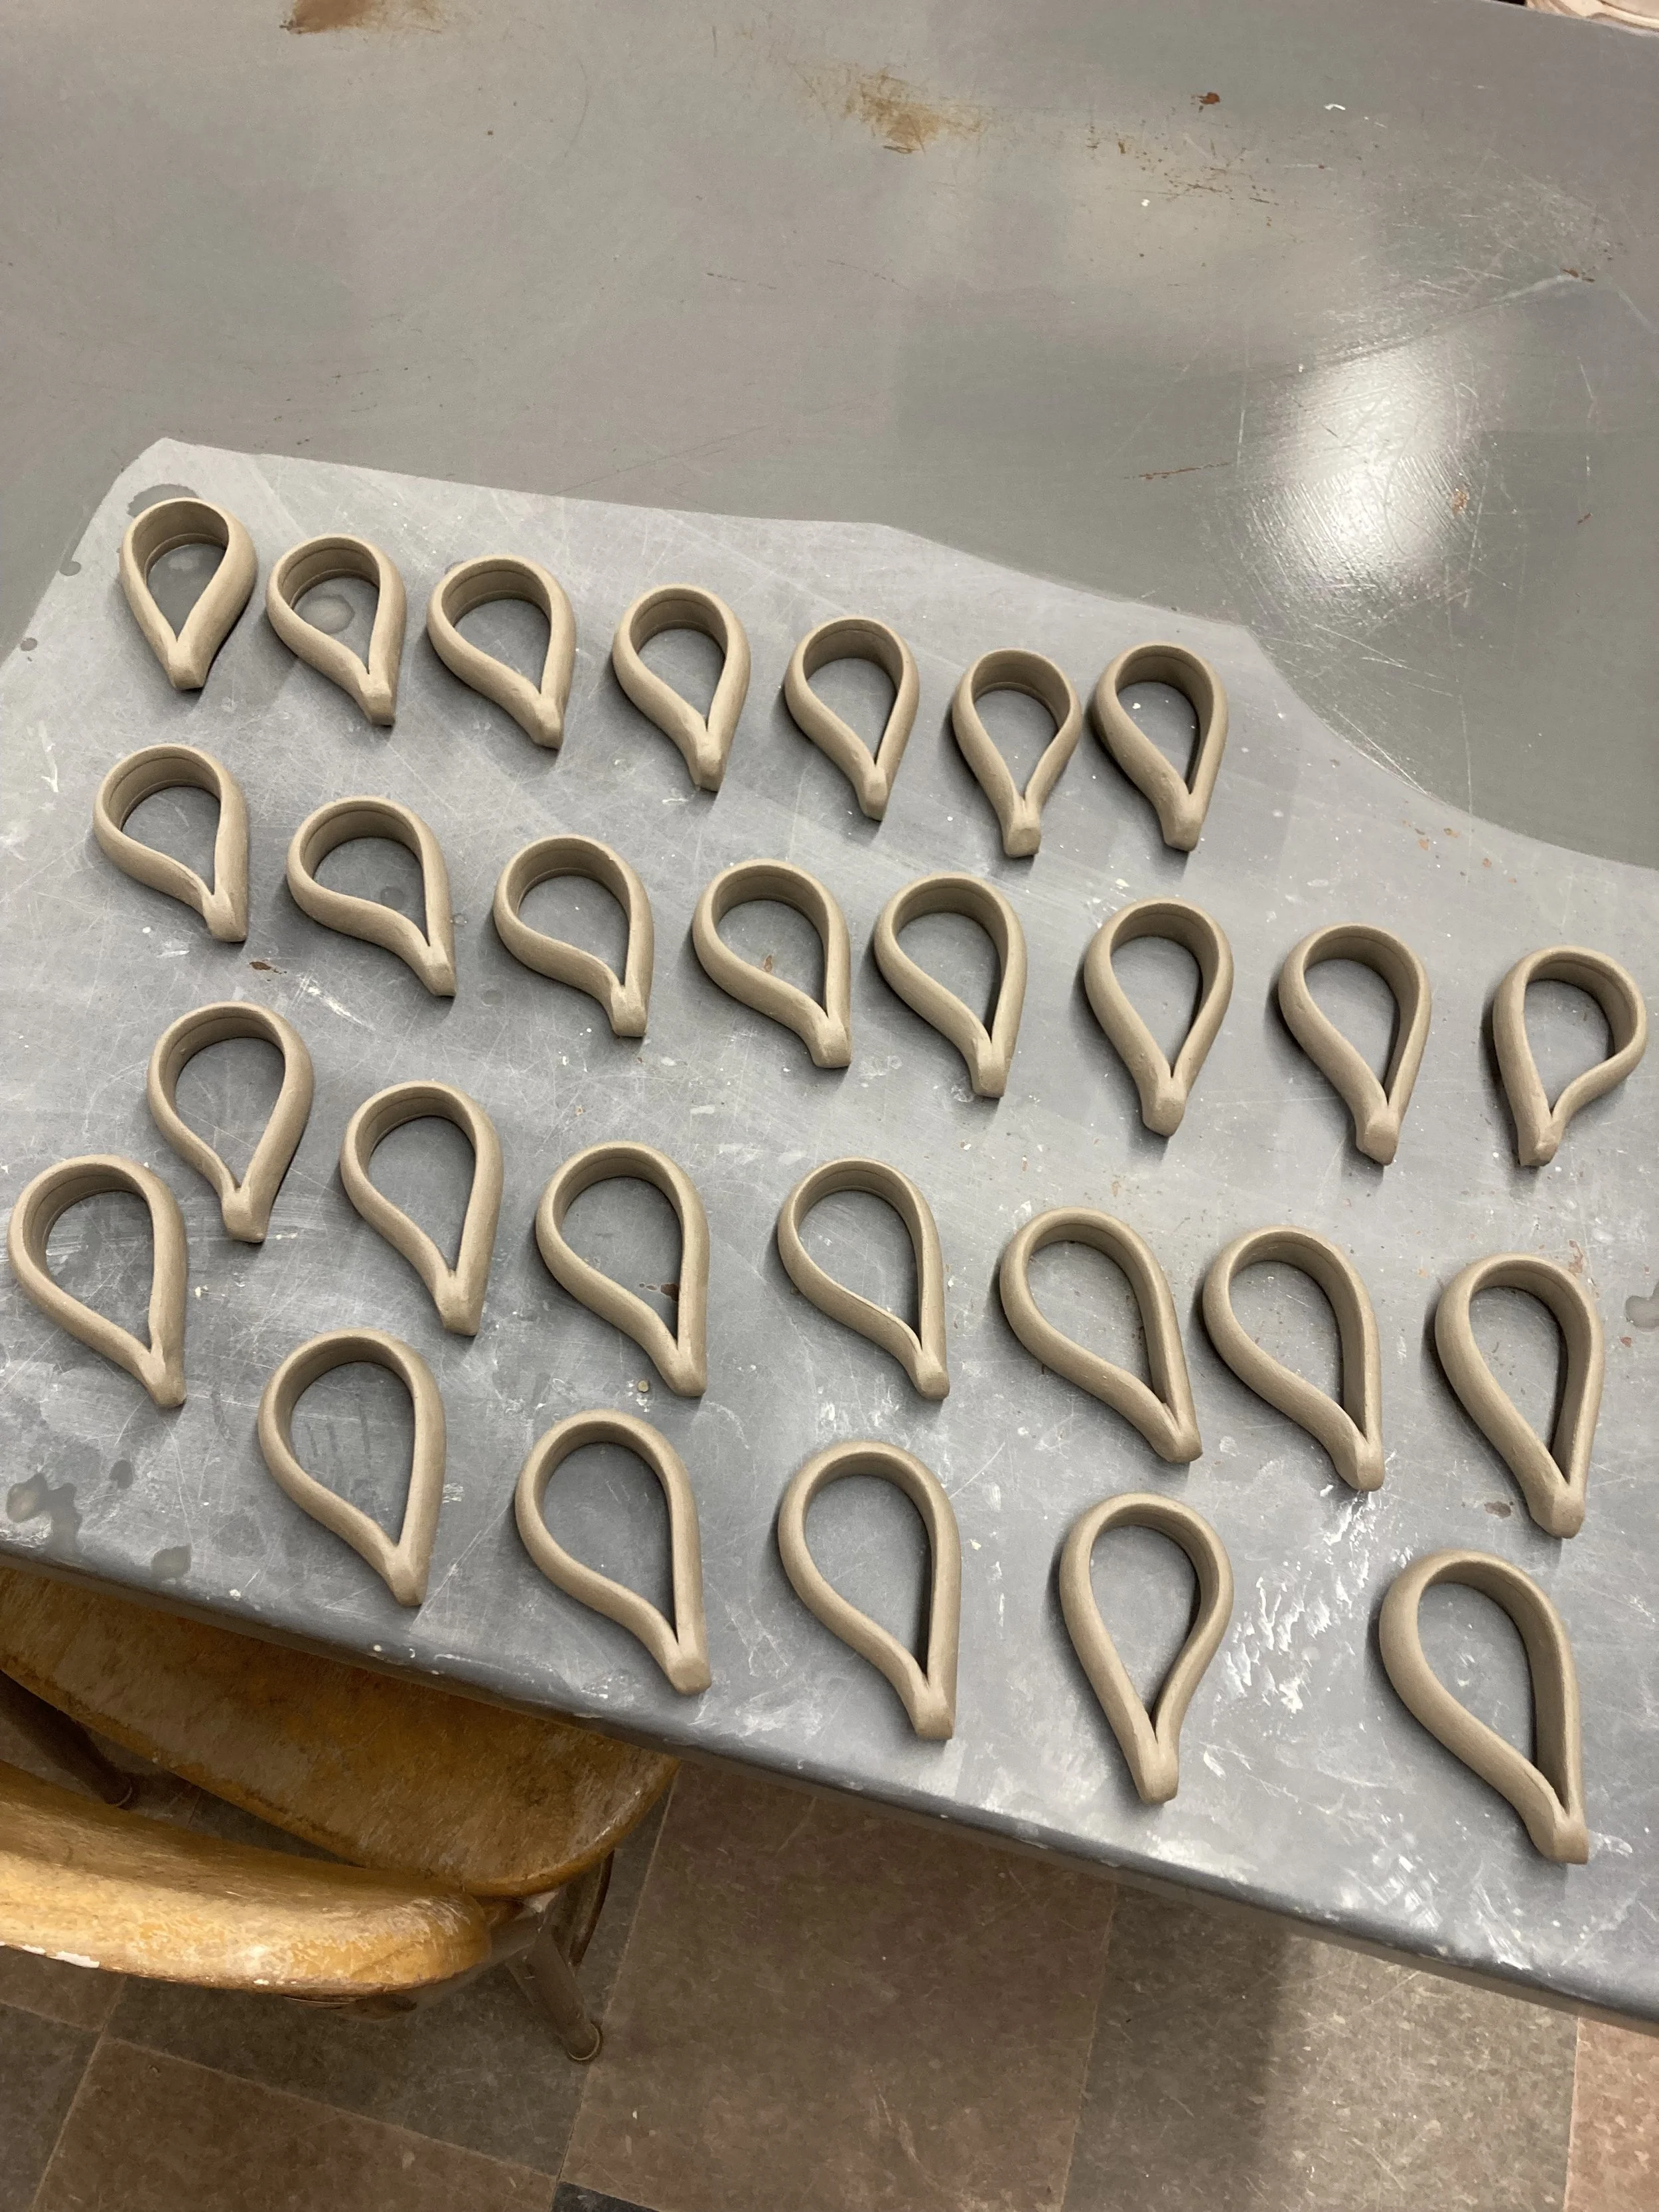
Step 8: Form your handle. Mine are strap handles.
Step 9: Attach your handle to your mug body.
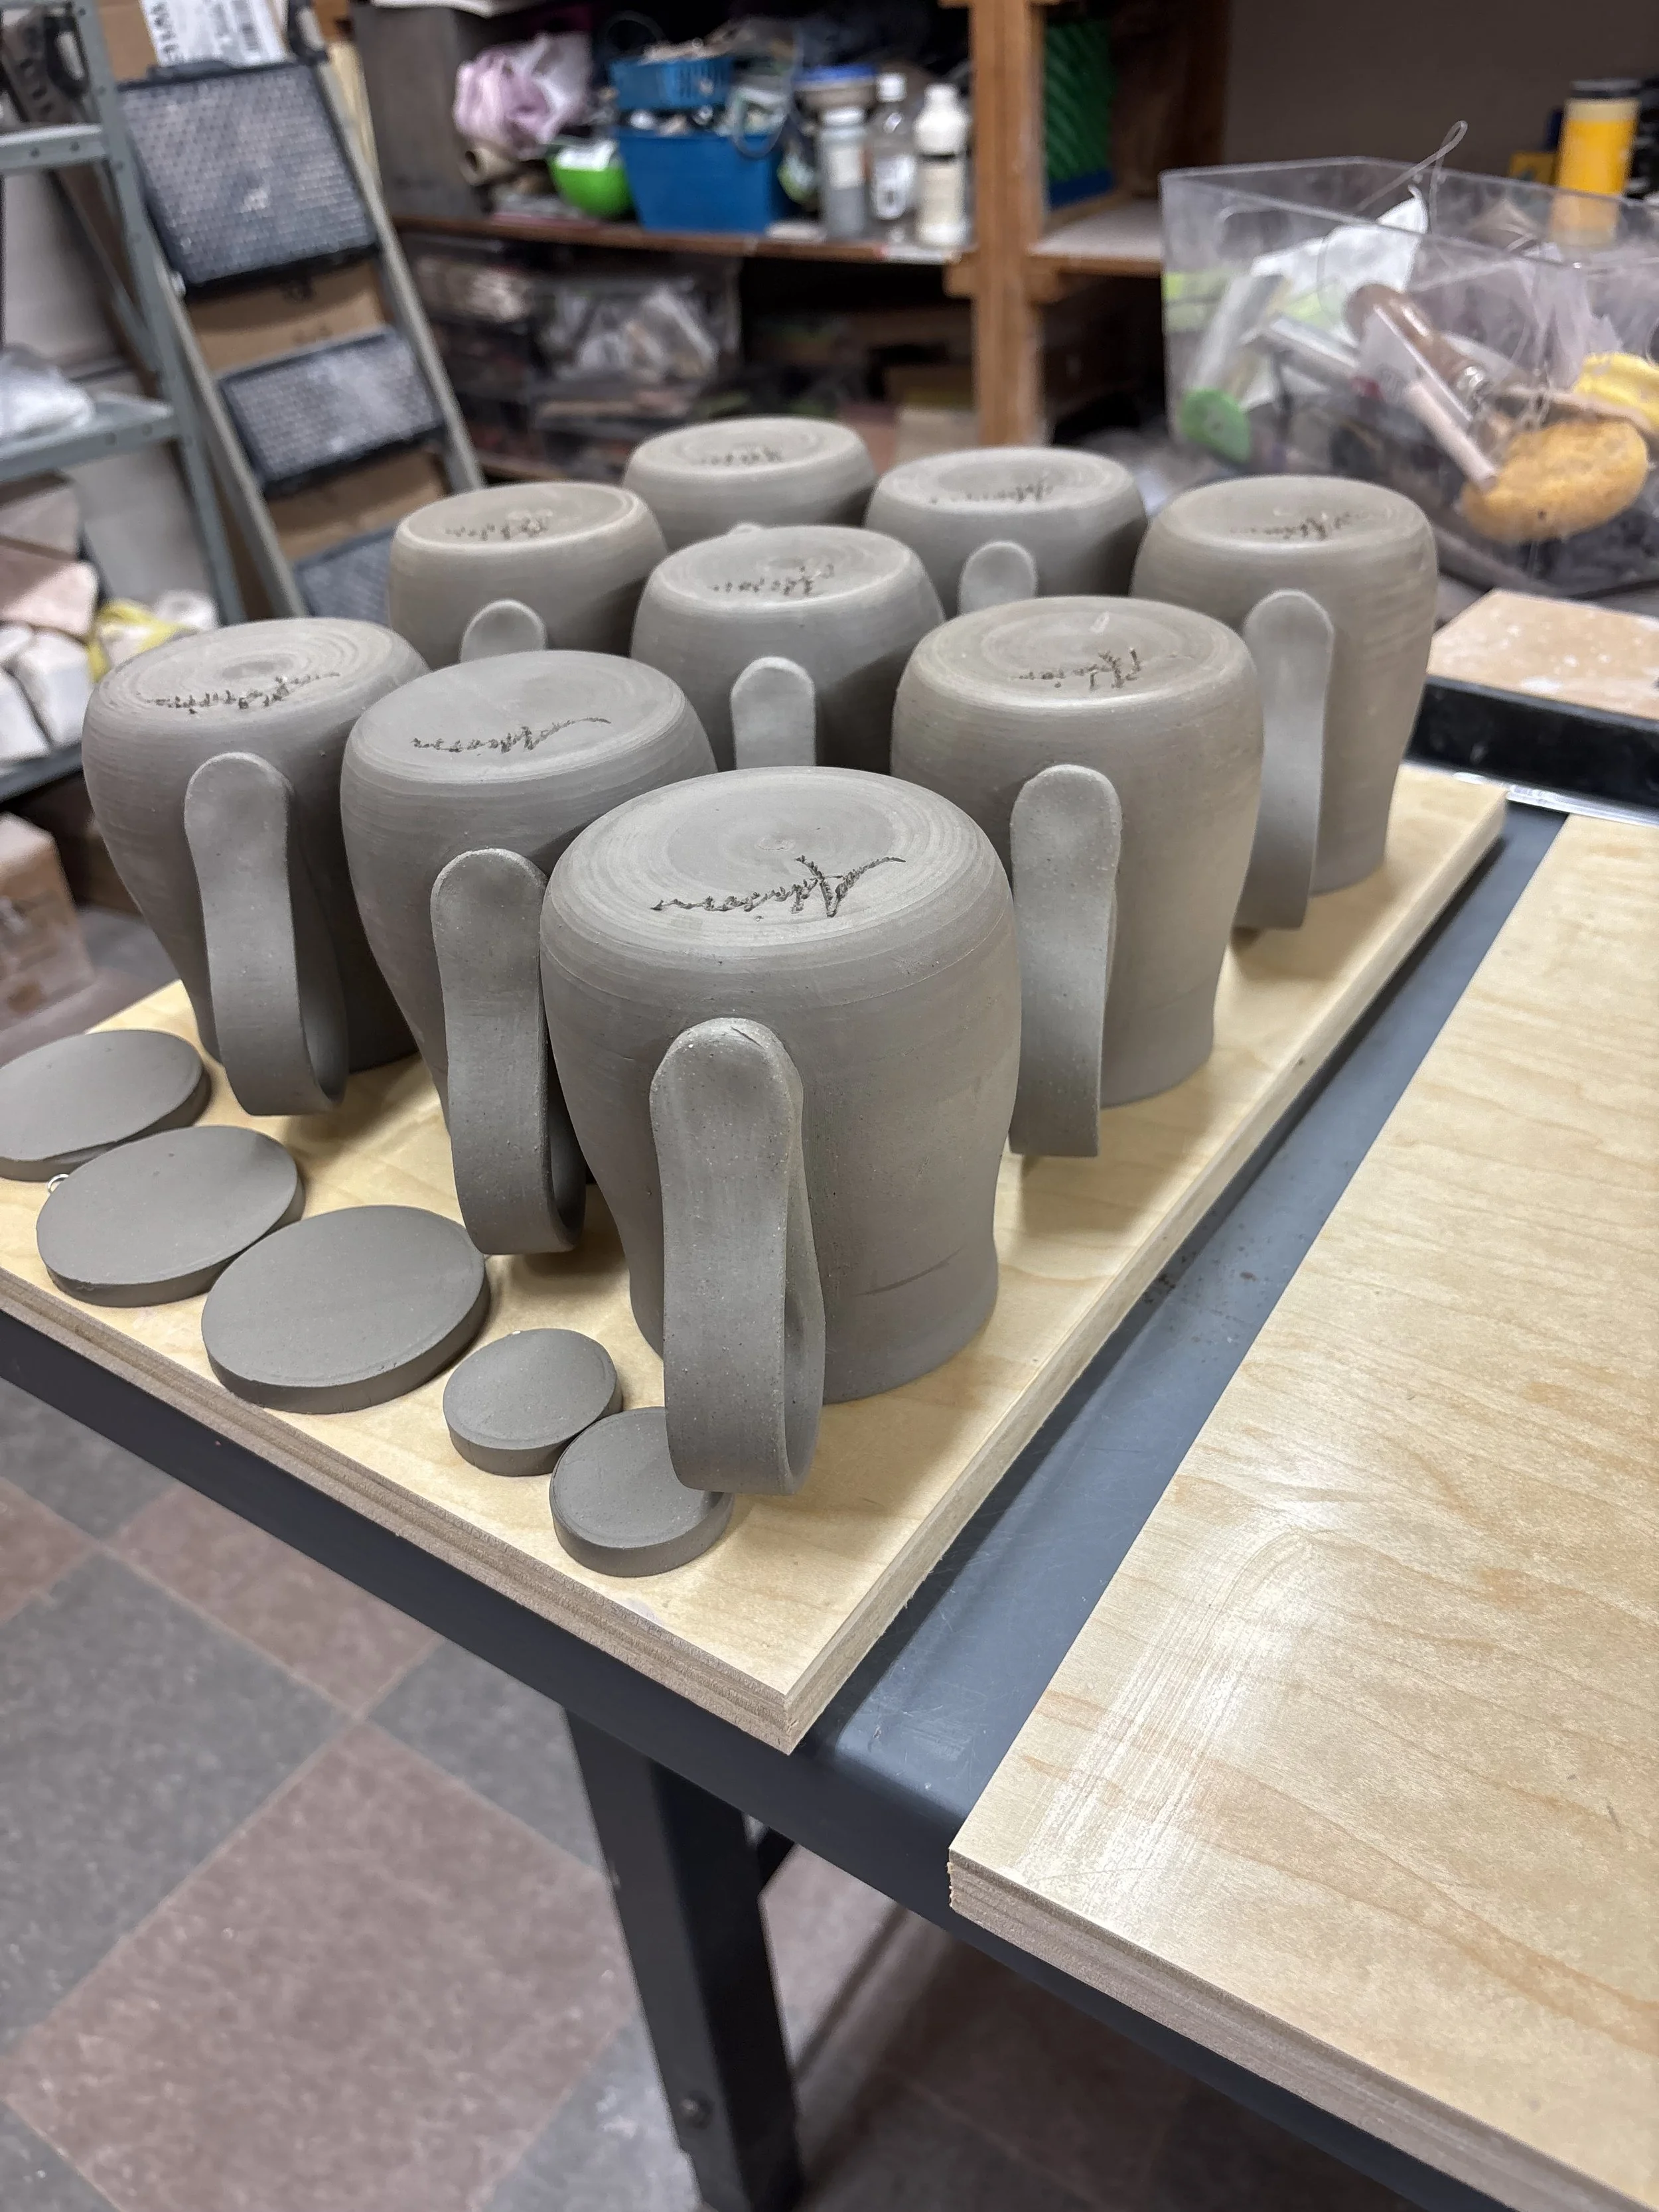
Step 10: Sign your work while the clay is soft.
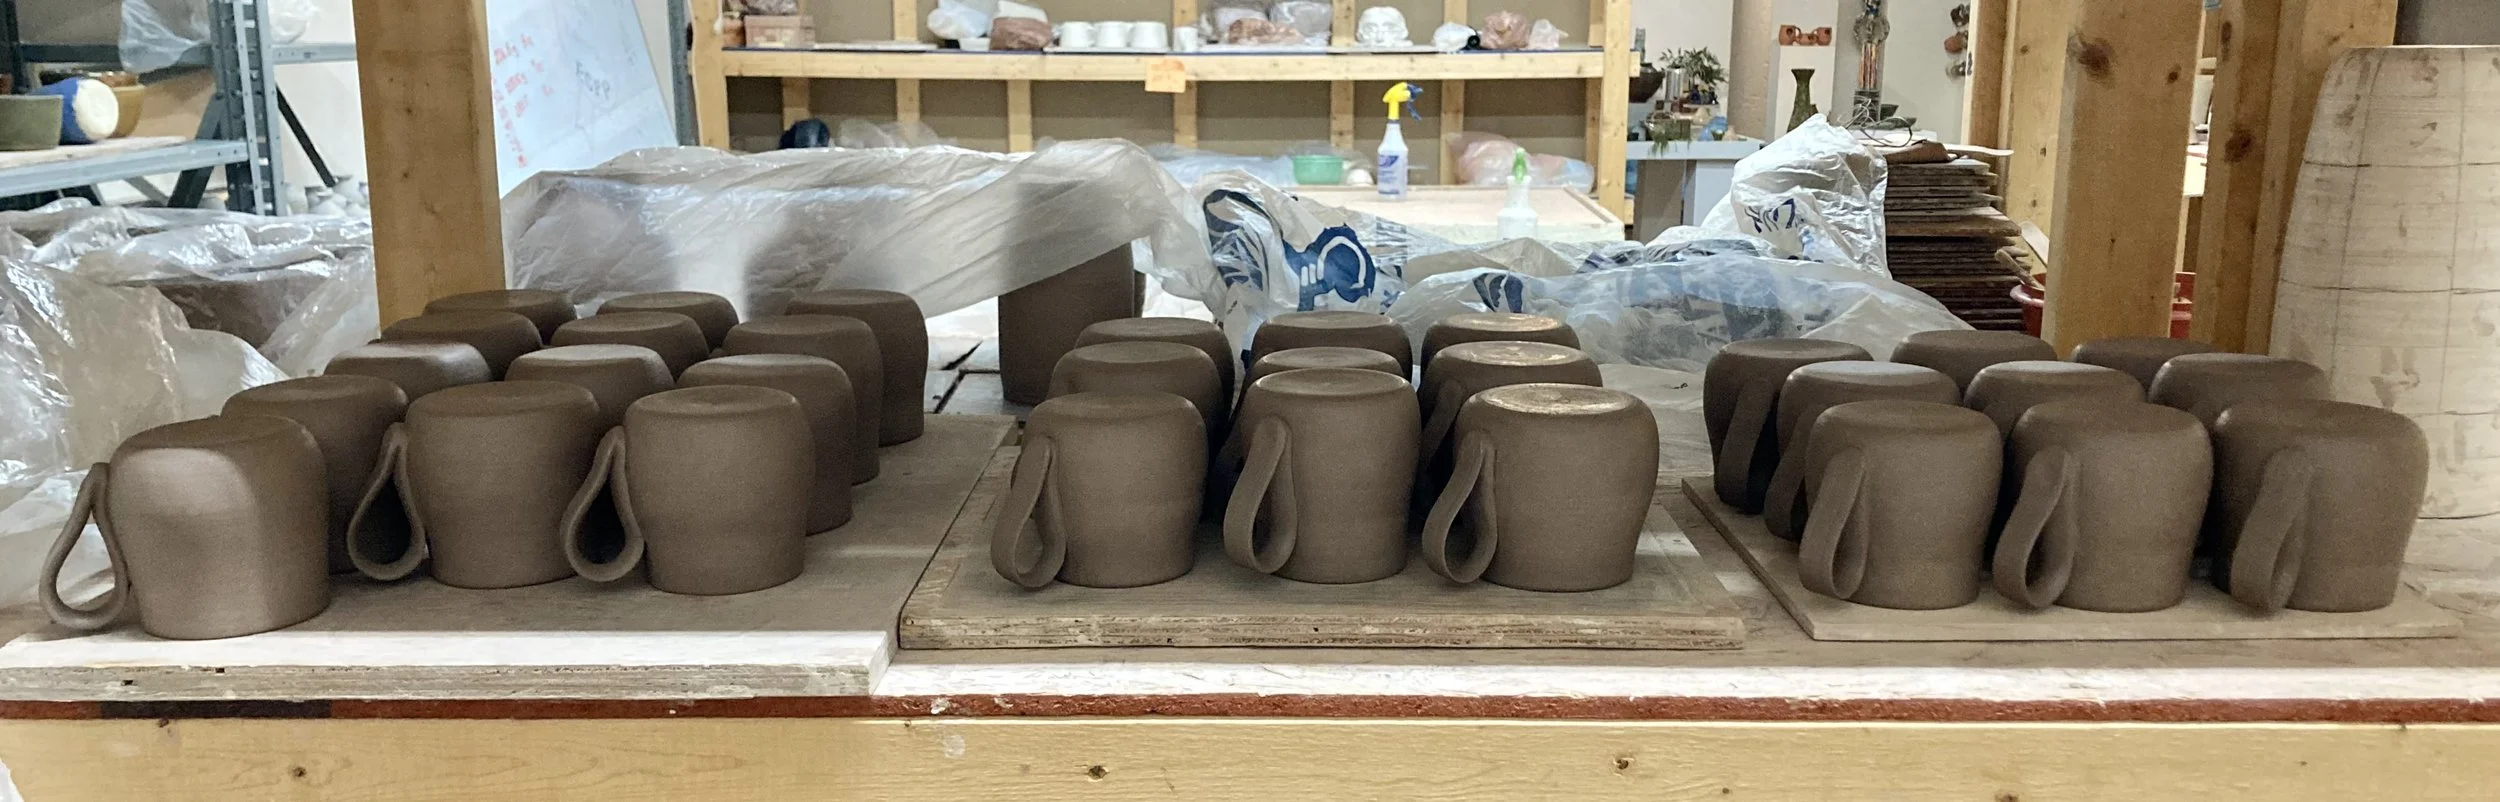
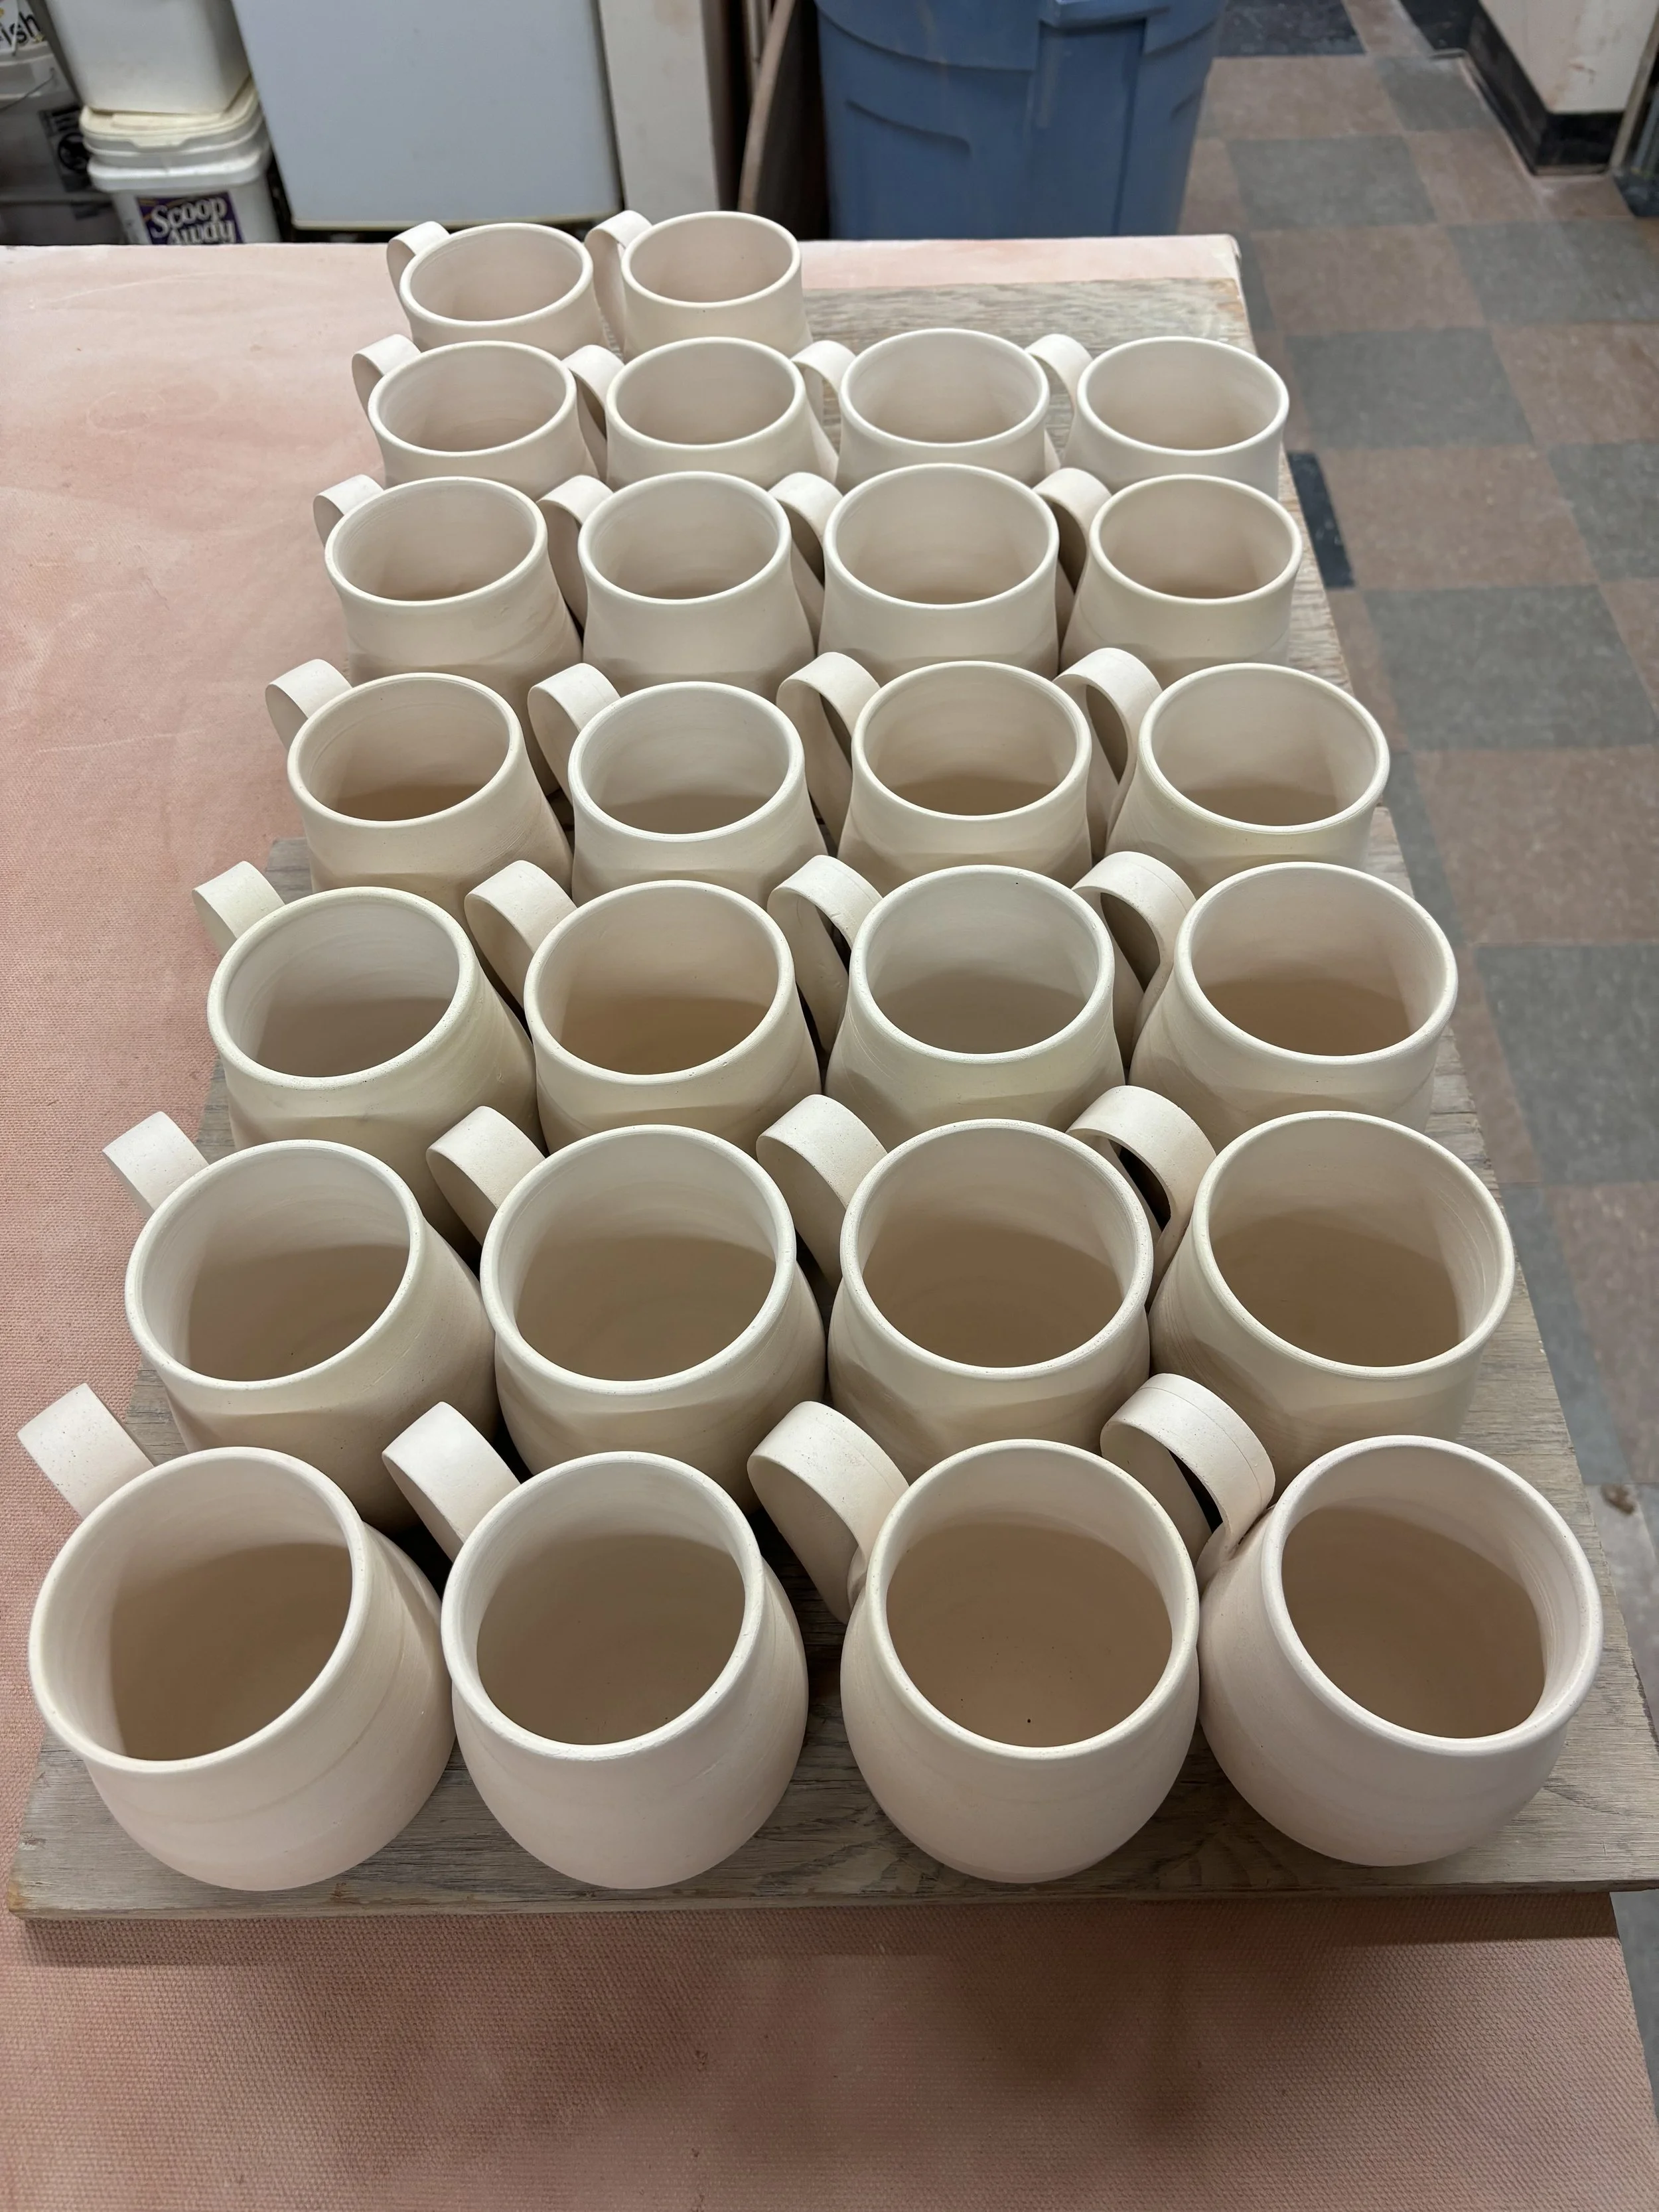
Step 11: Store your mug on a safe shelf.
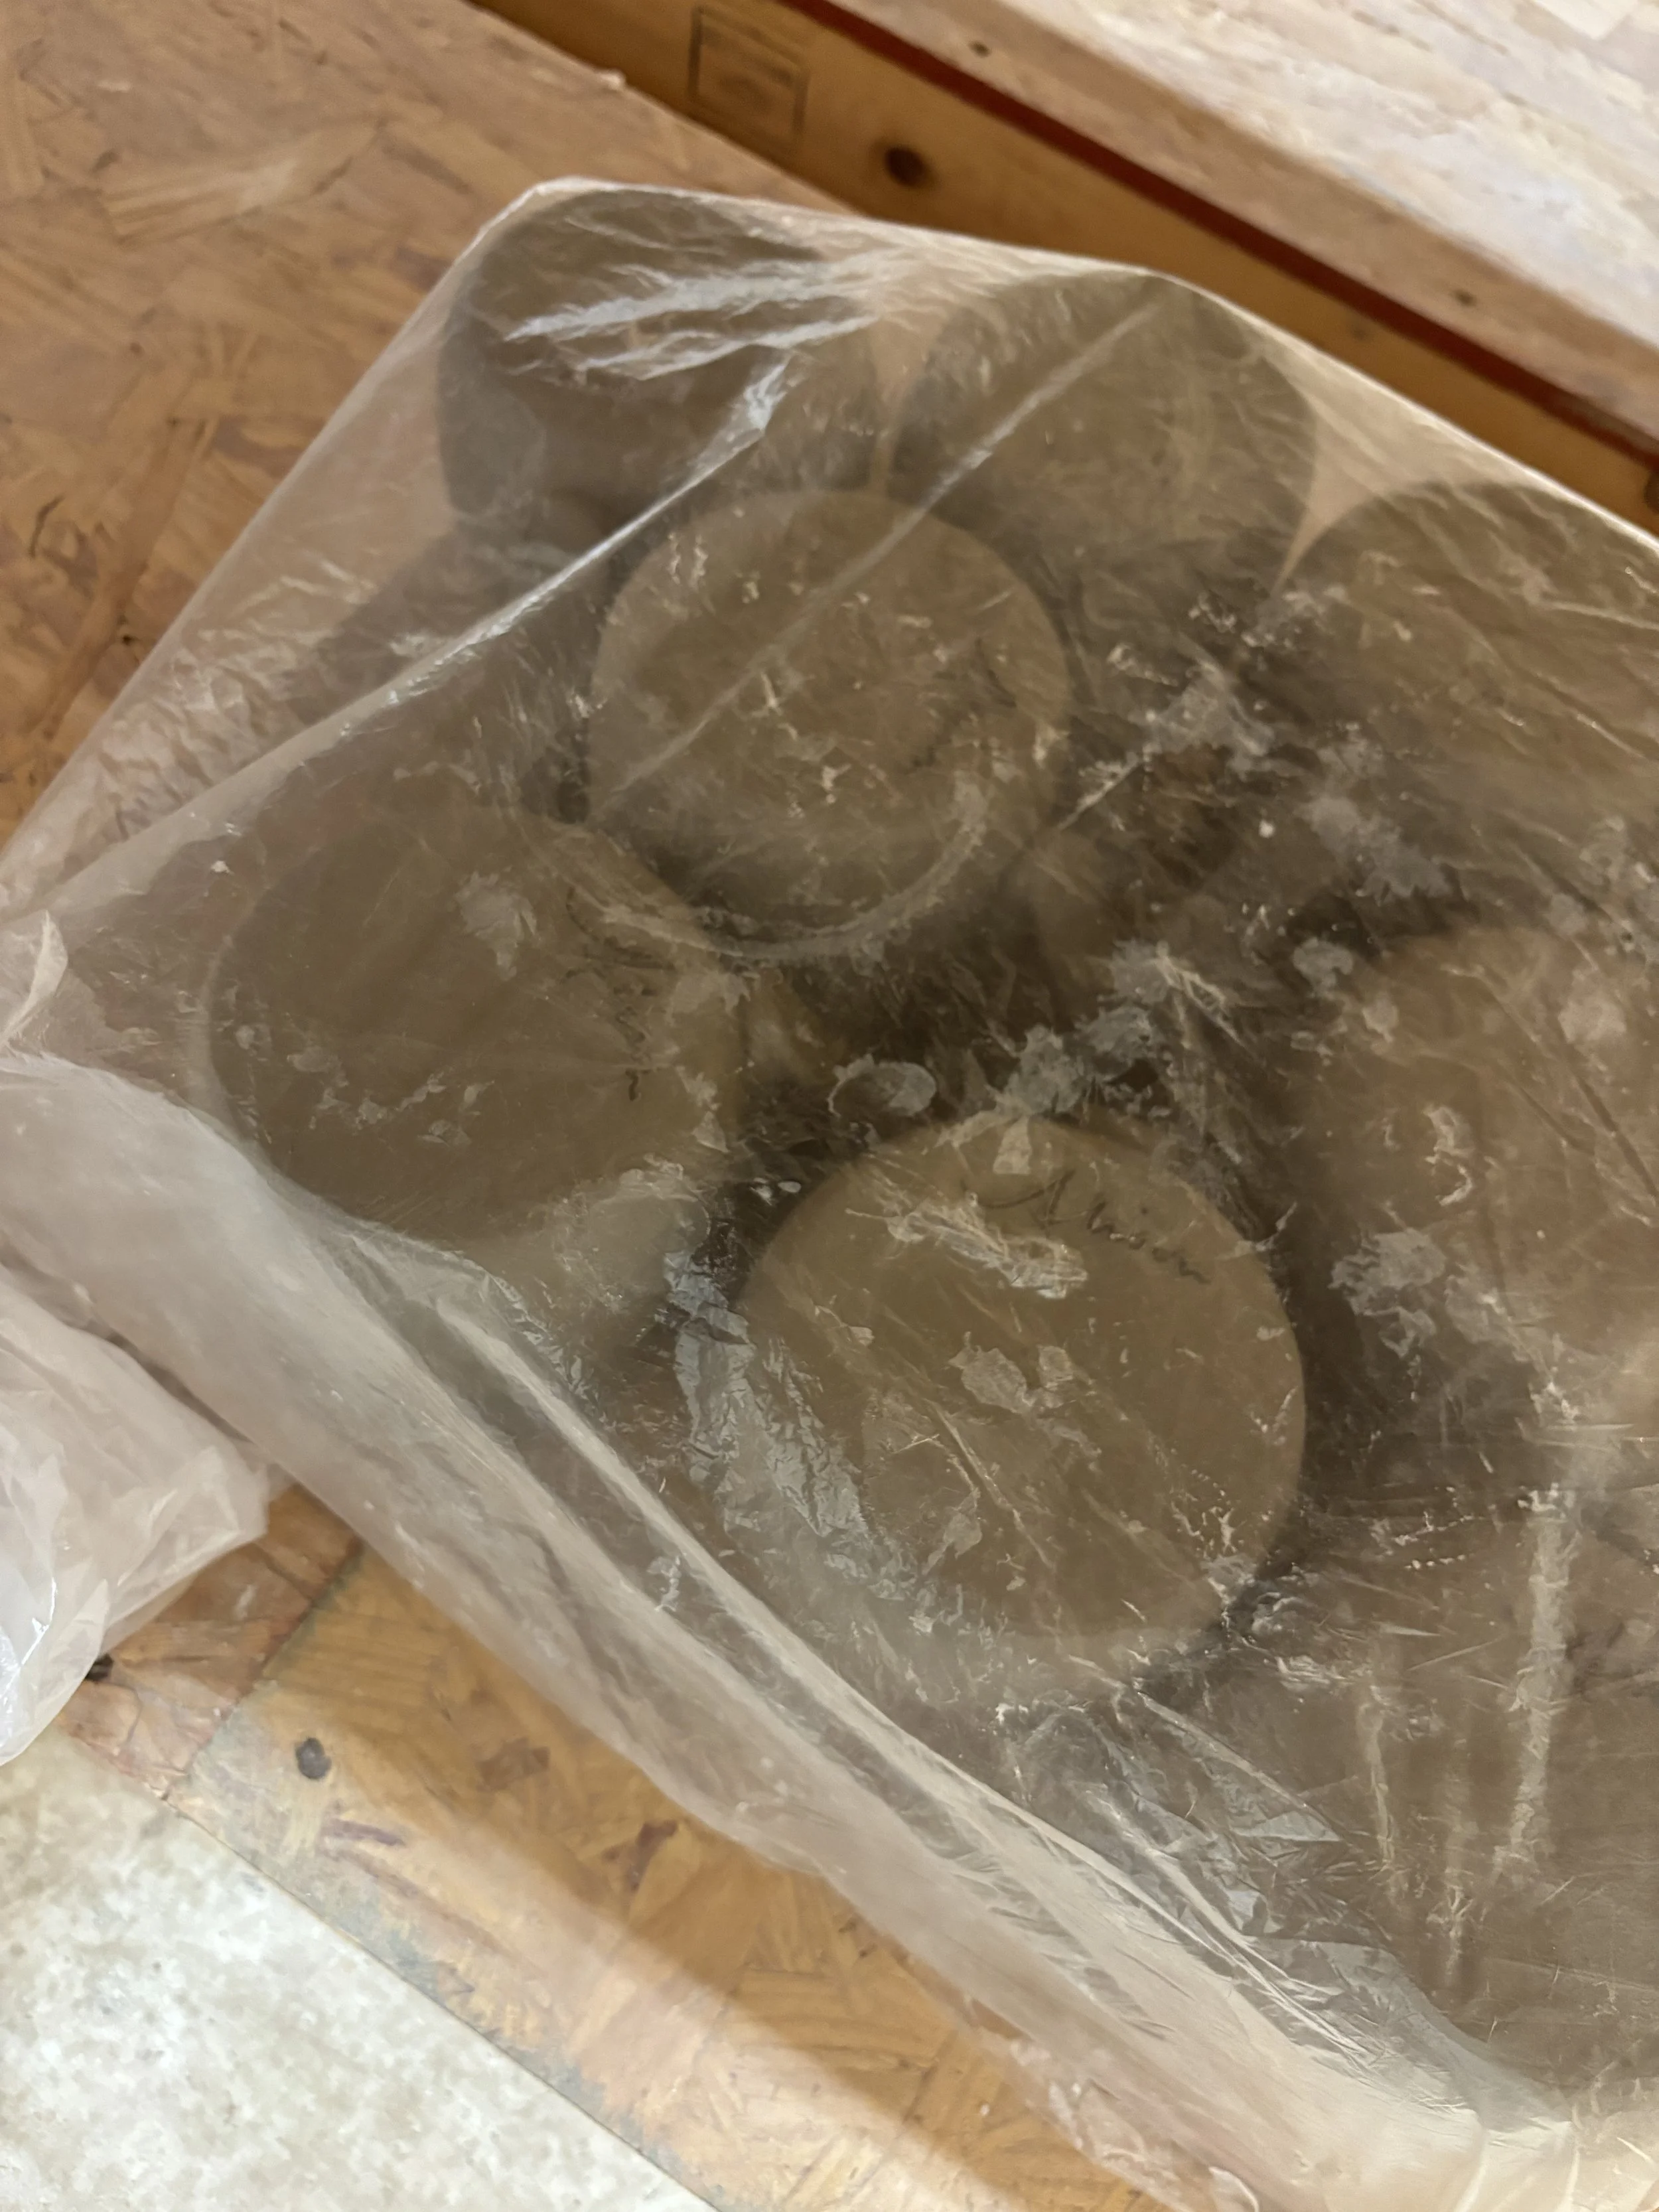
Step 12: Wrap in plastic and allow to dry slowly so your handle doesn't crack away from the body.
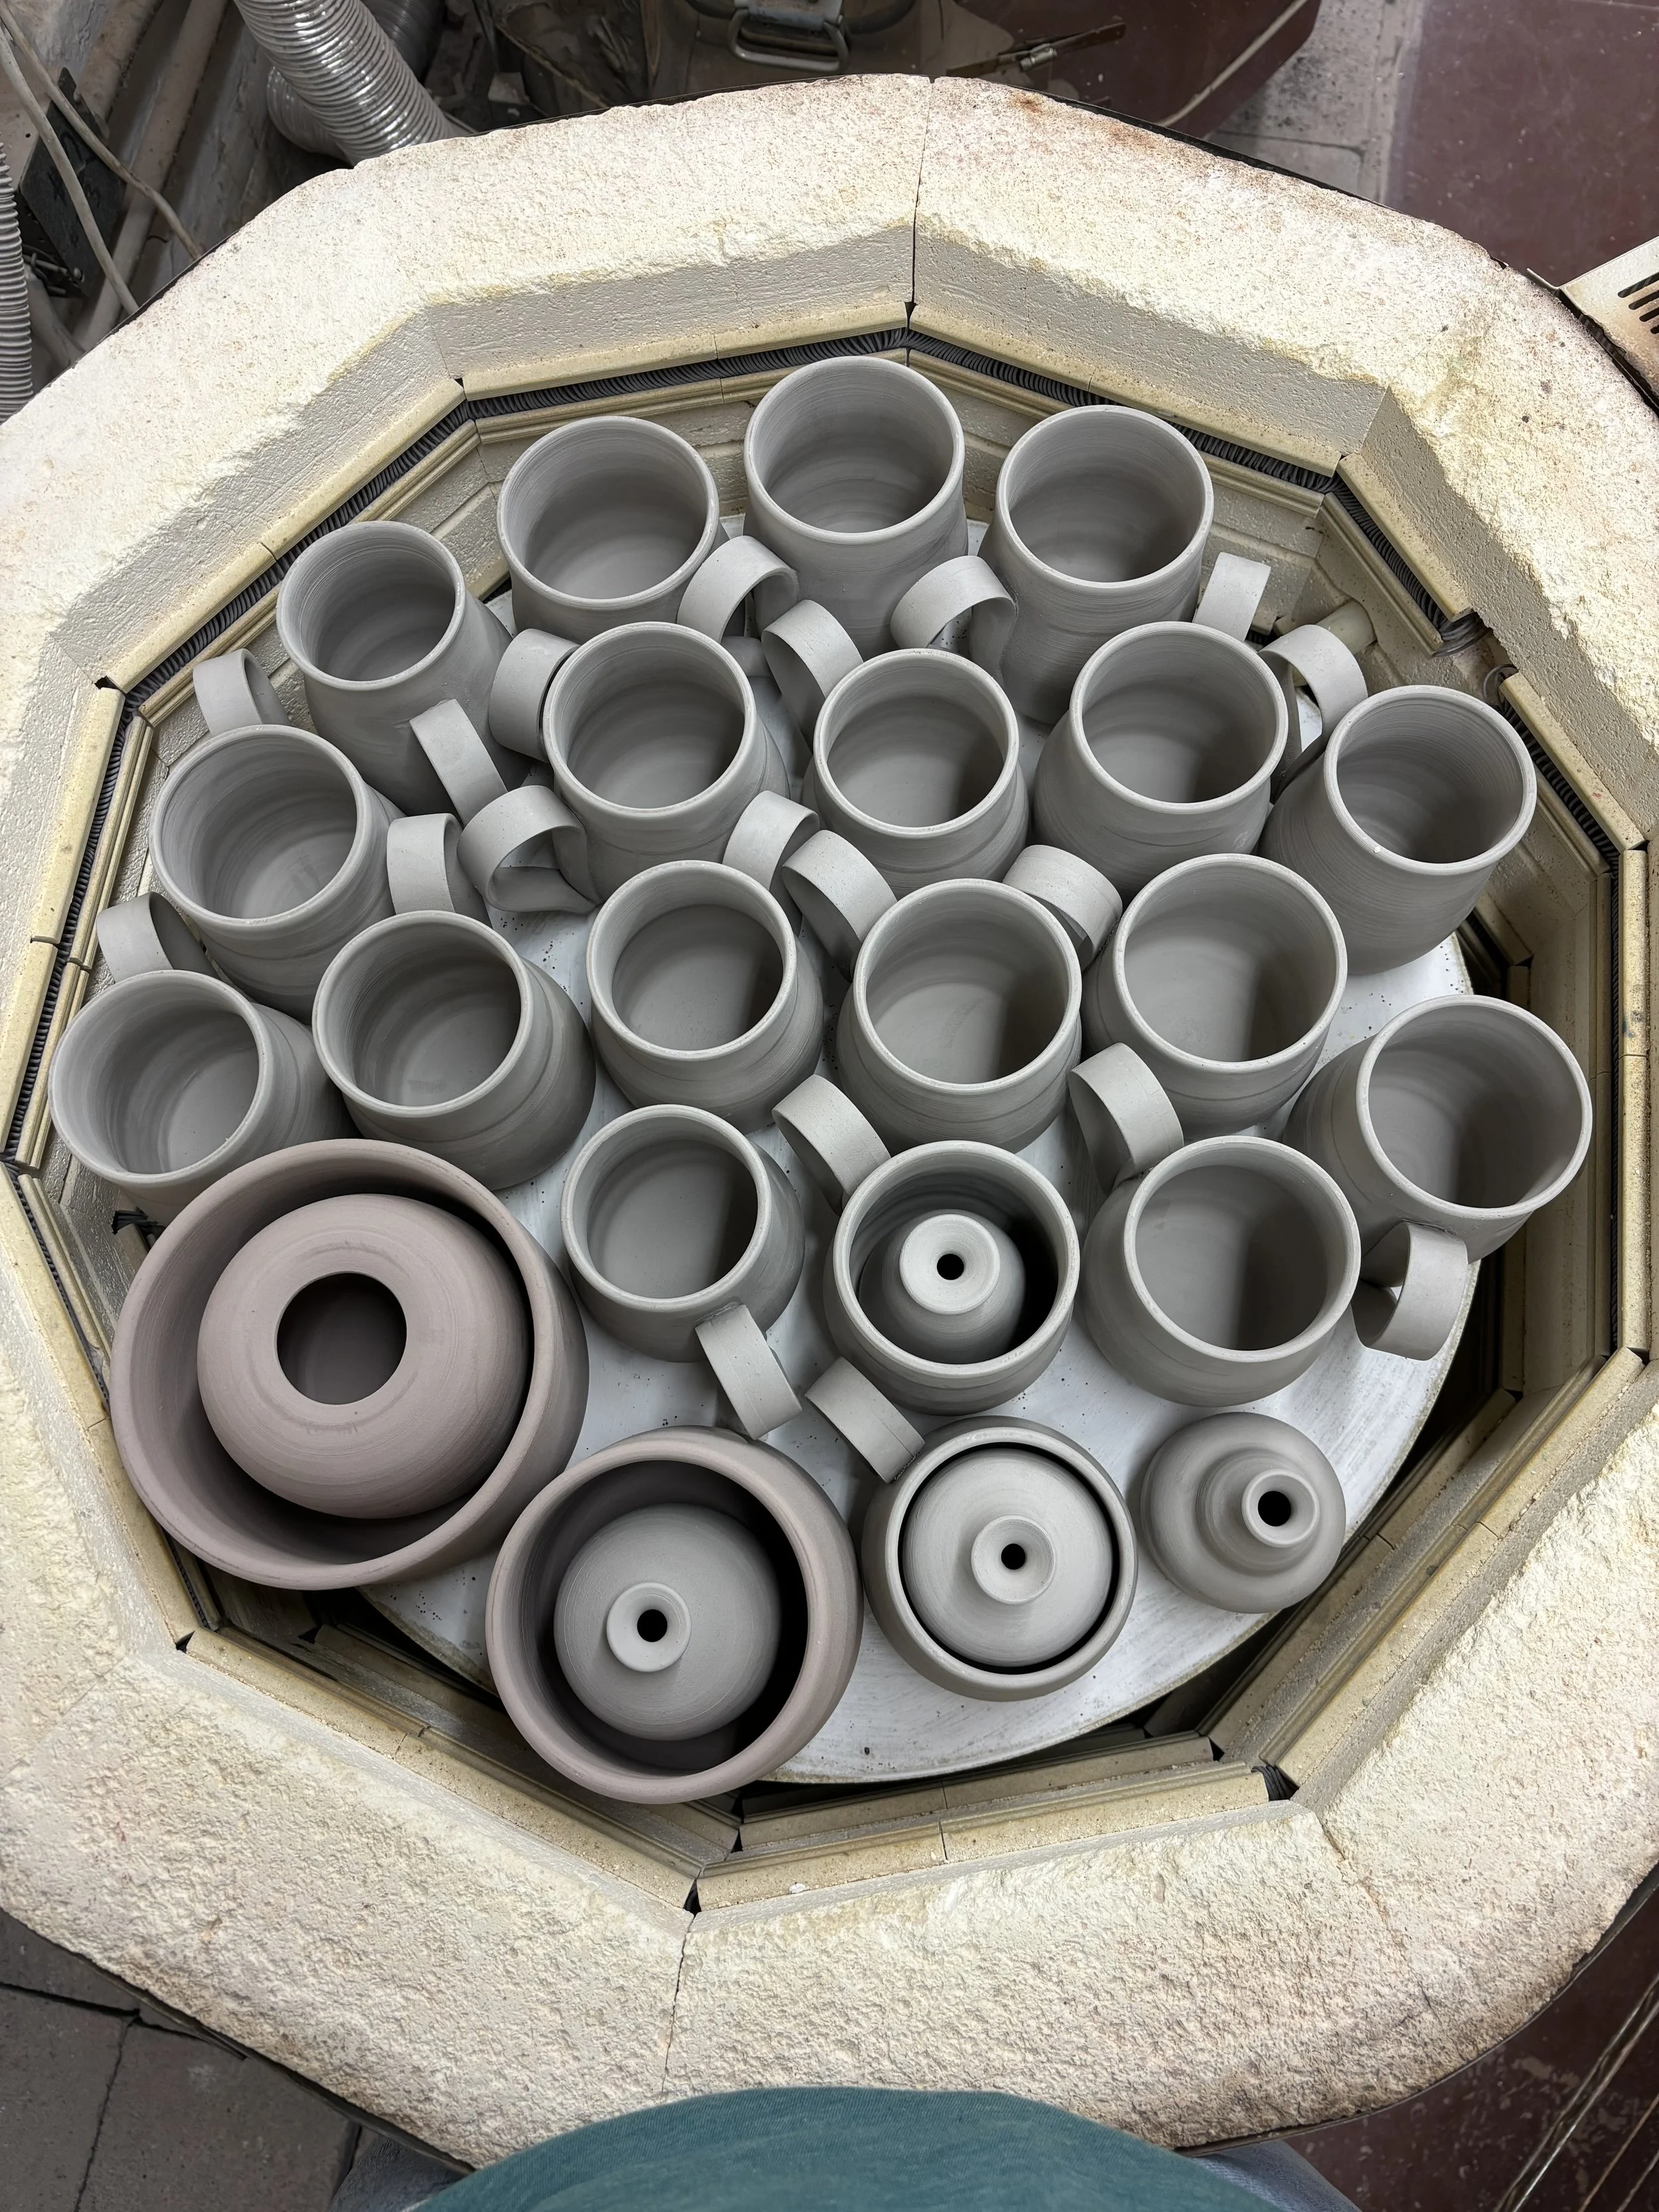
Step 13: When clay is bone dry, load the kiln and bisque fire your mug.
Step 14: Unload kiln, rinse off dust, and dry.

Step 15: Wax the bottom of your mug (to prevent glaze from sticking to the kiln shelf).
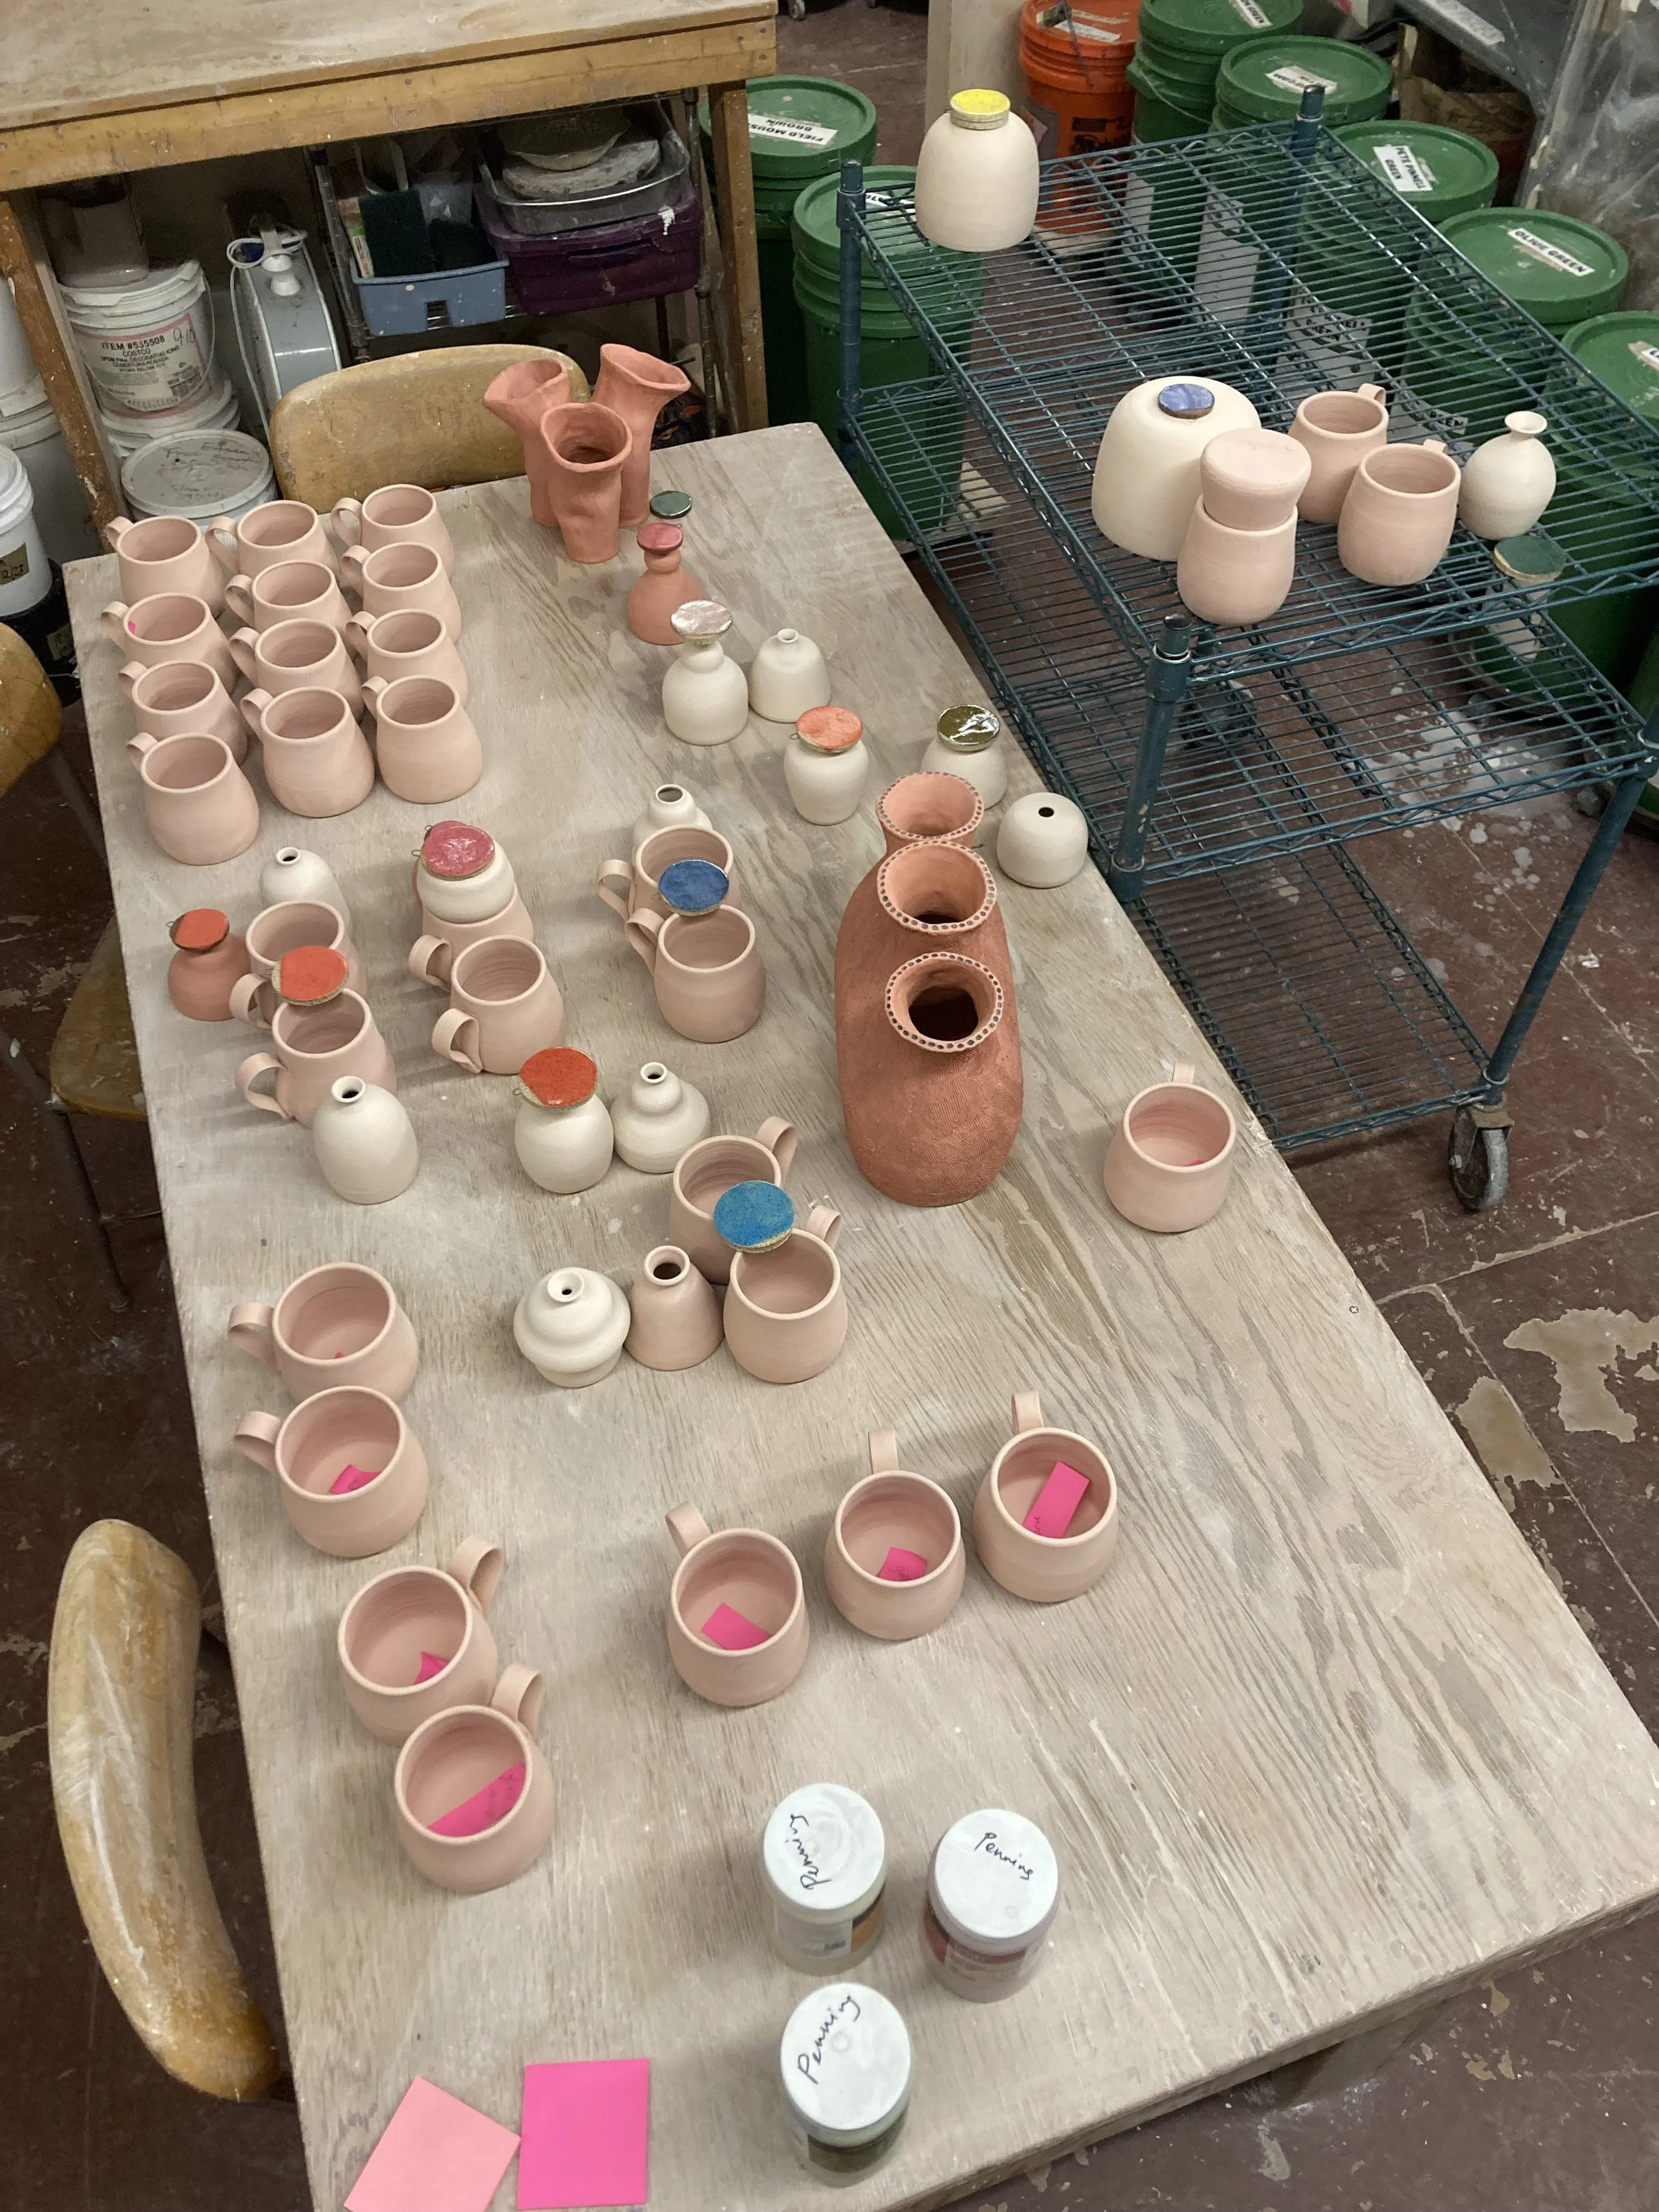
Step 16: Plan your glazing. I use sticky notes with lists of each color in the order they will be added.
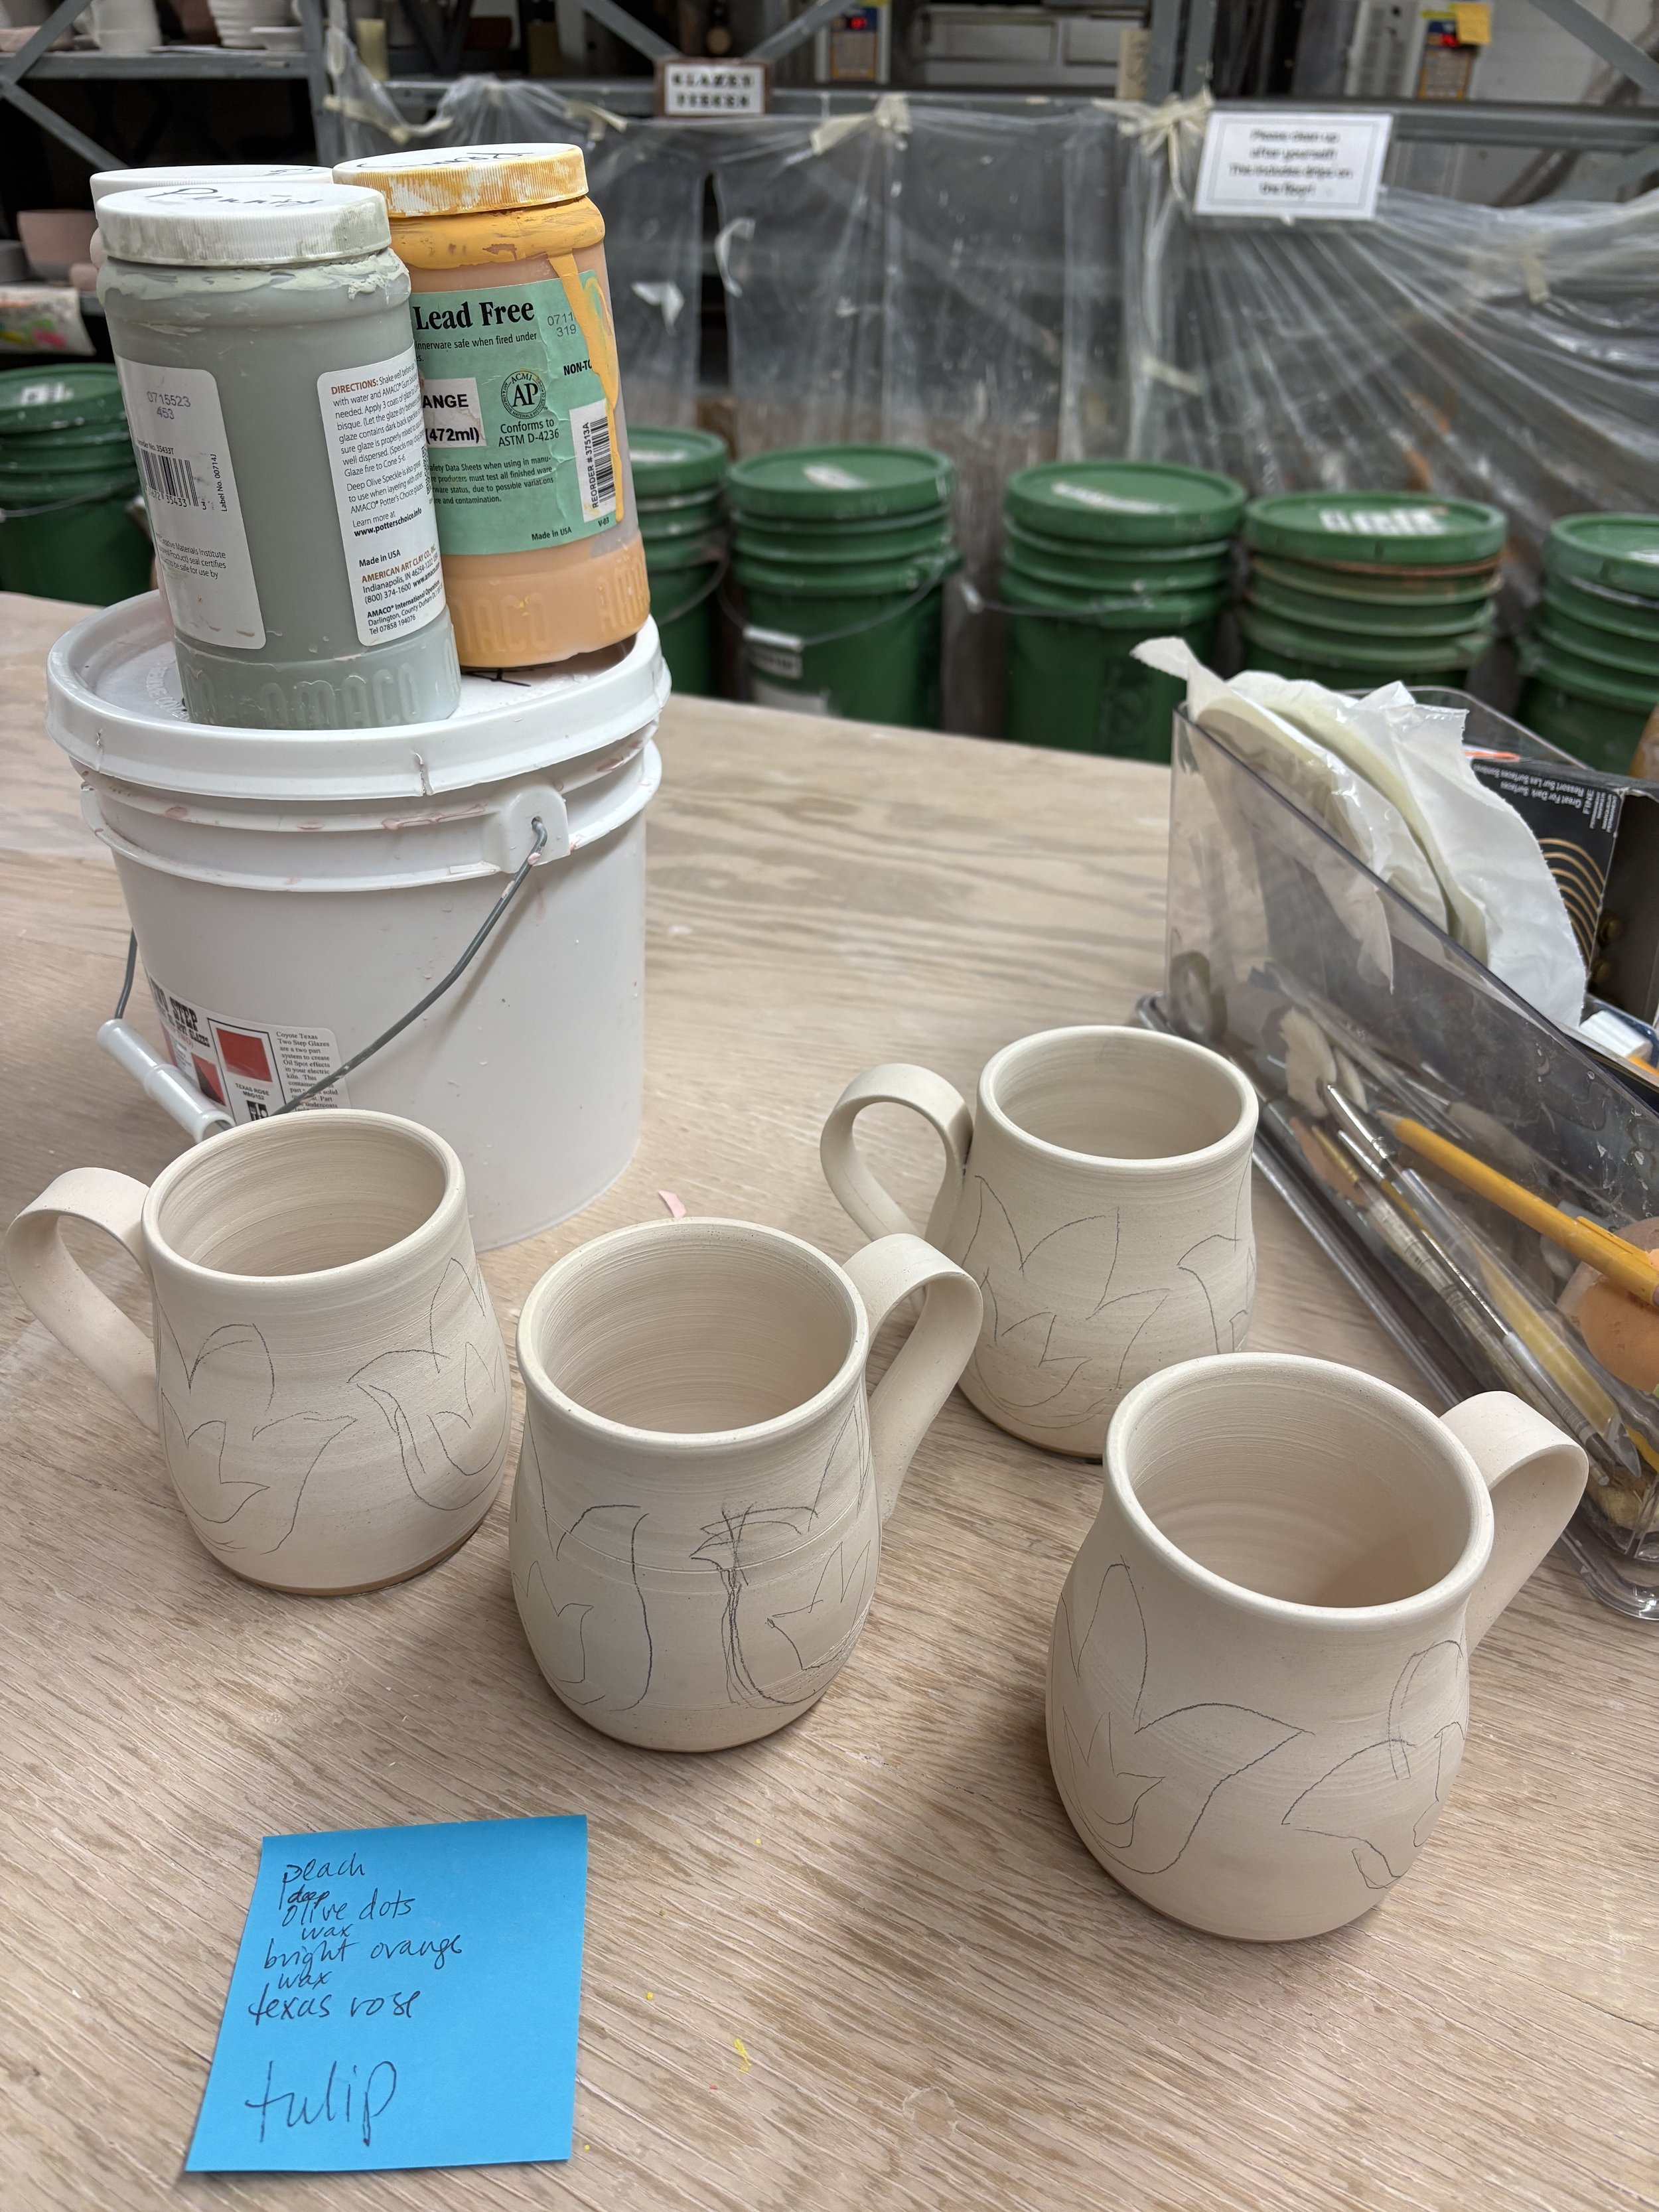
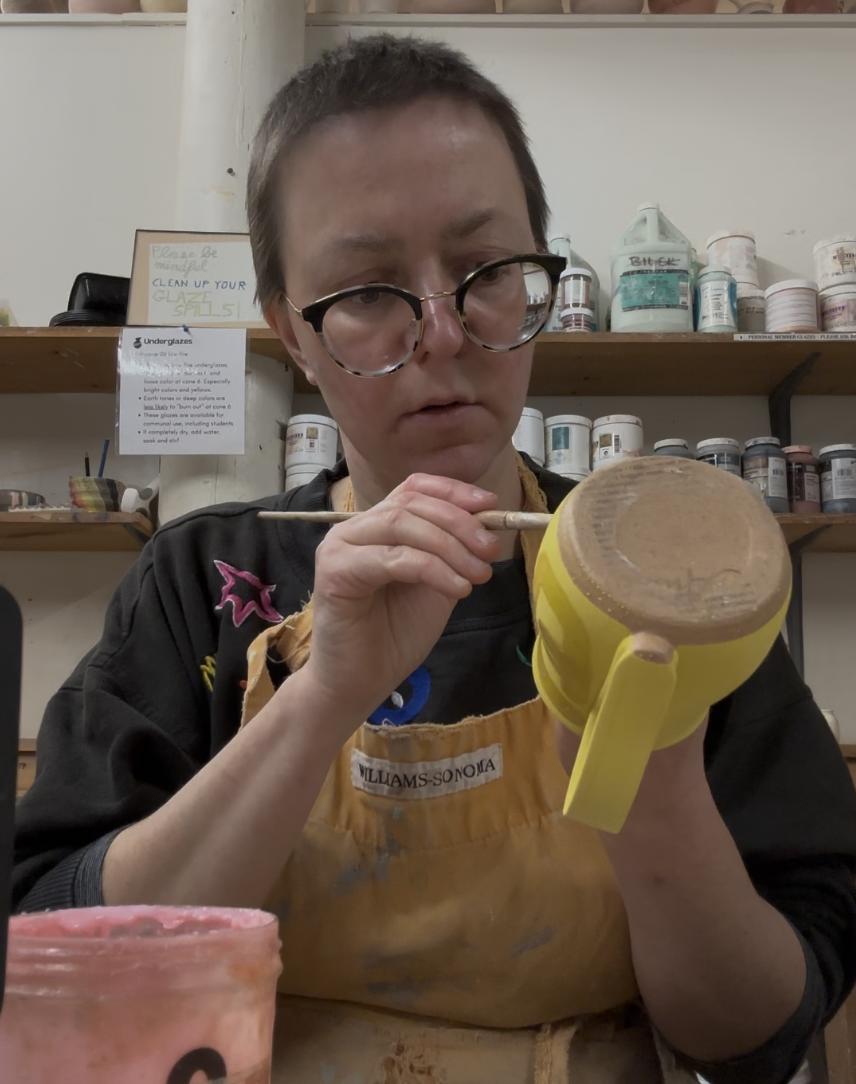
Step 17: Sketch your design; here I am preparing a batch of flower mugs.

Step 18: Start adding your layers of color.
Step 19: Add wax resist. Wax protects the surface underneath and prevents the next layer of glaze from attaching to the waxed area.

Step 20: Repeat! These mugs have three colors applied so far, with two layers of wax. One more layer of wax to go!

Step 21: Dip the mug into the final glaze color.

Step 22: Watch the glaze slide off of the areas with wax resist! This is your treat for all of your hard work!

Step 23: Use a sponge to remove any droplets of glaze that remain on the waxed areas.
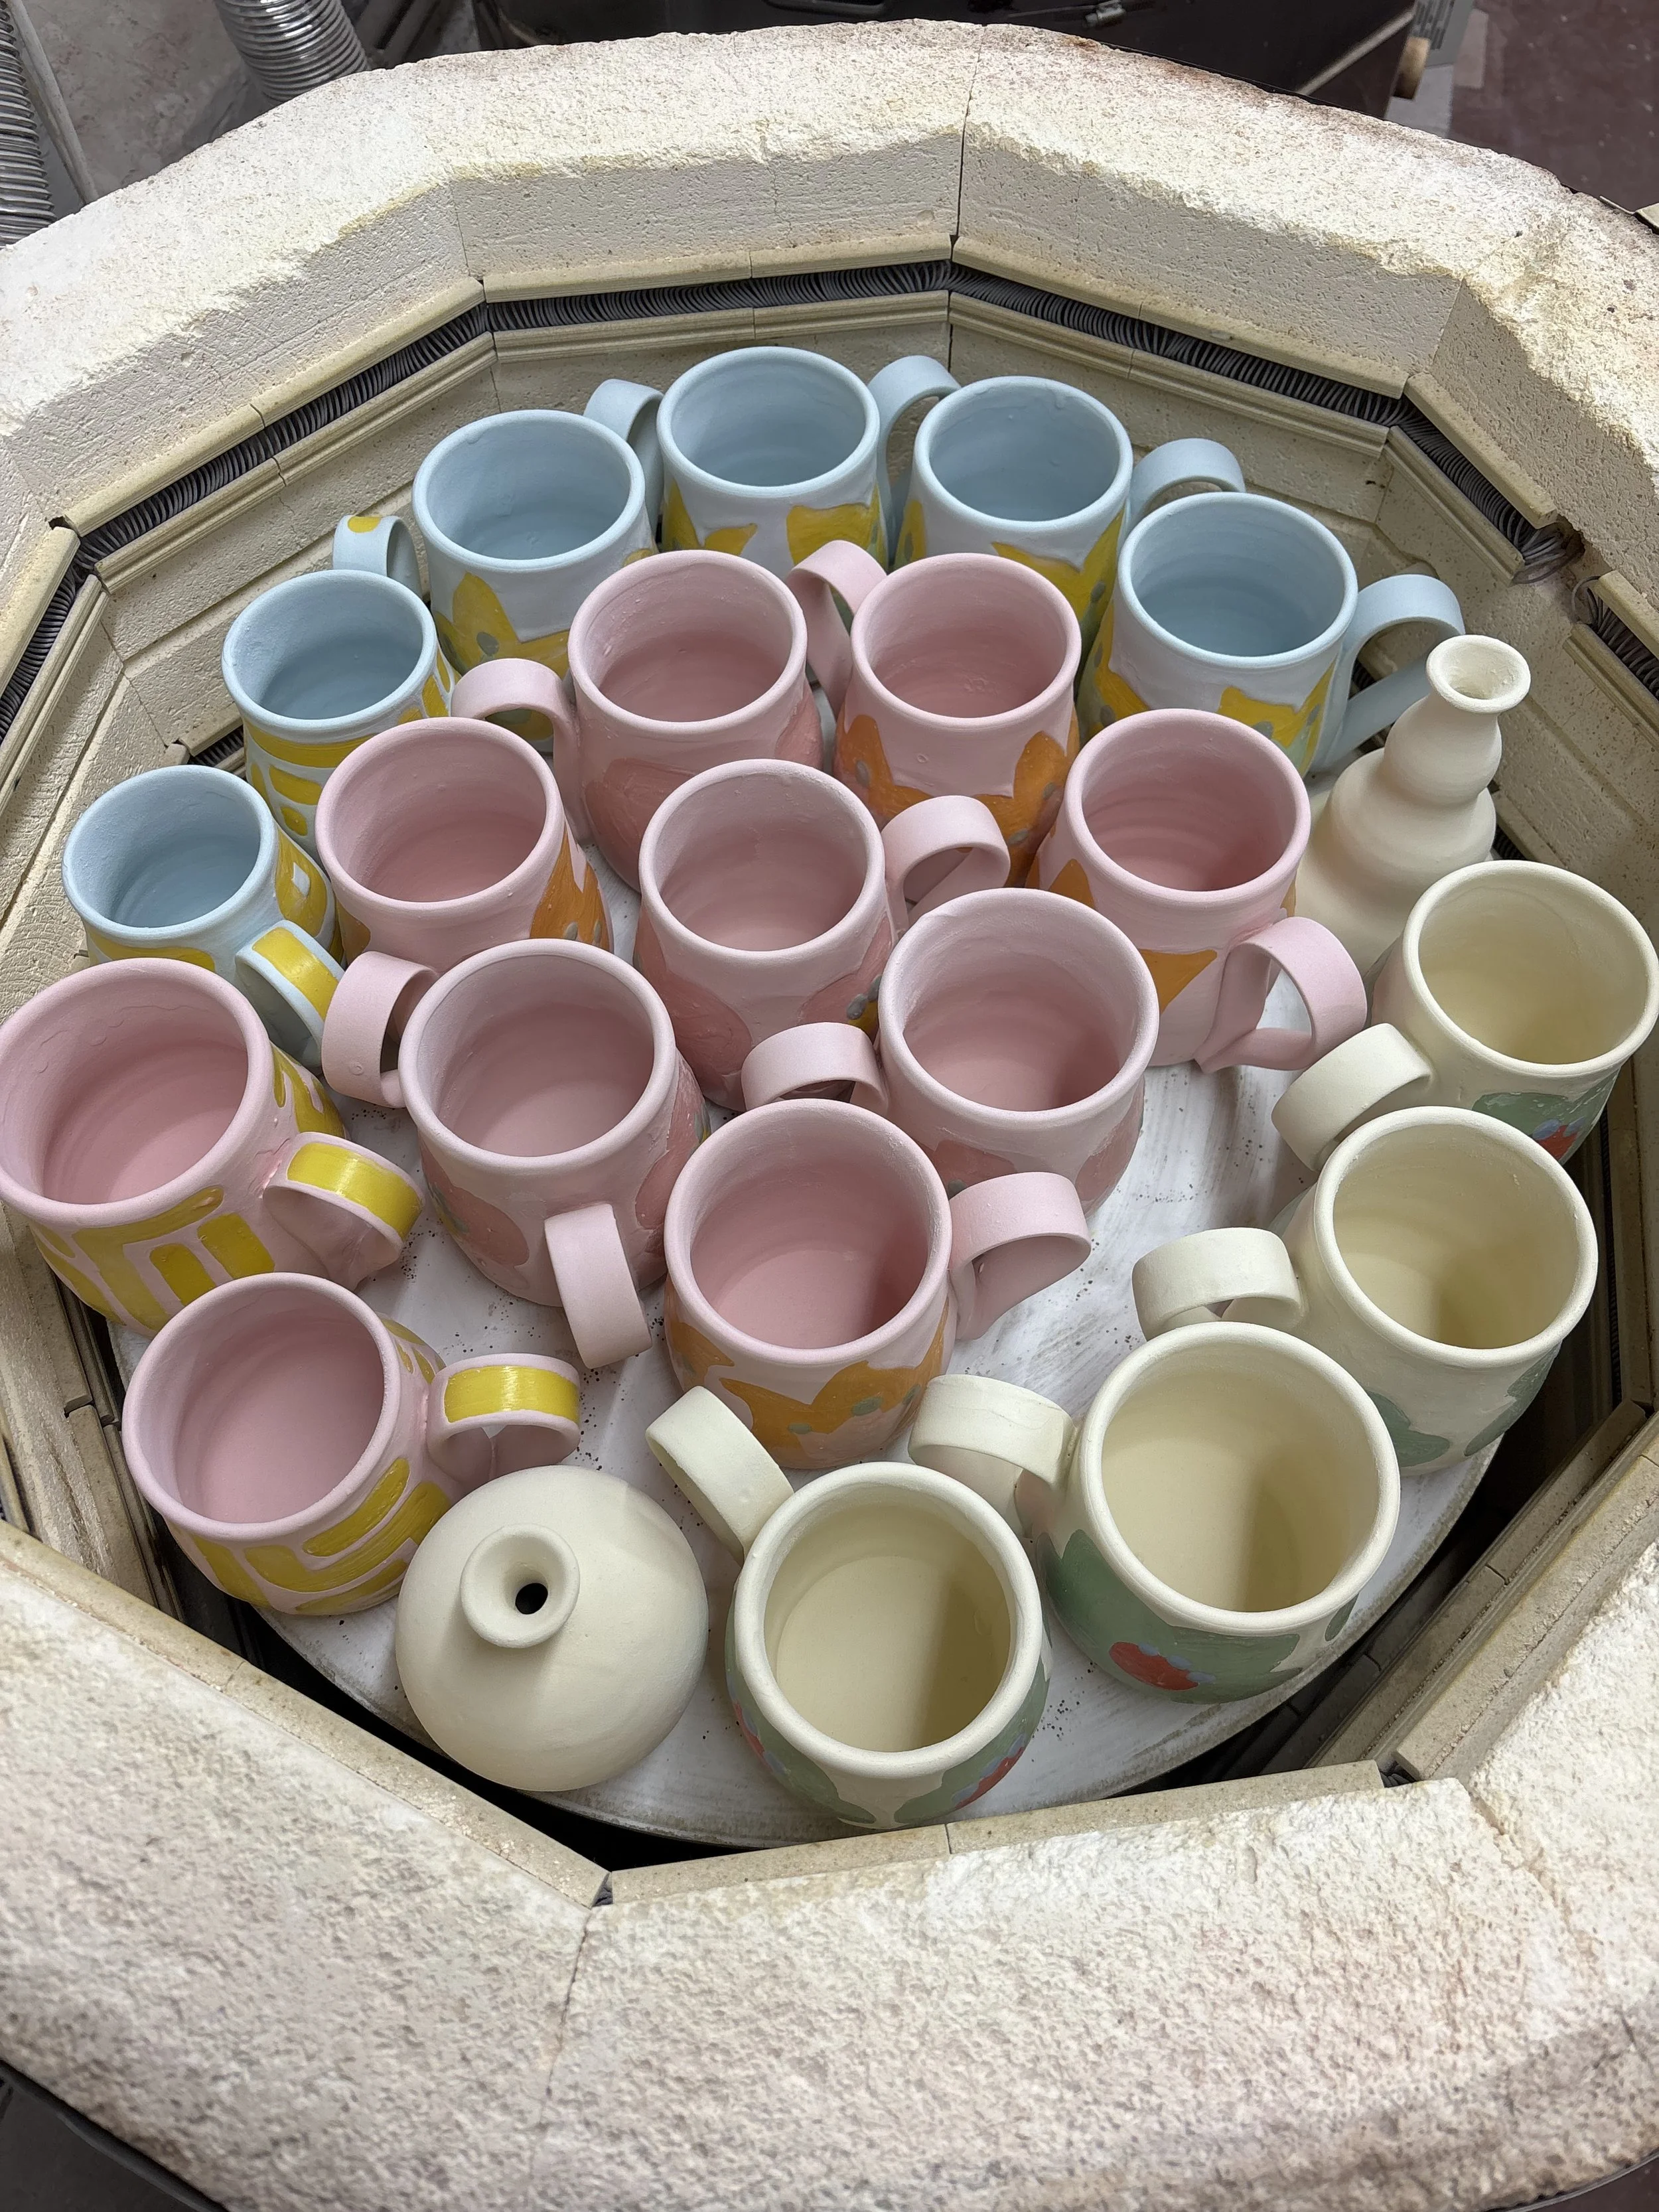
Step 24: Load the kiln and cross your fingers! The temperature is going to climb to 2232 degrees.
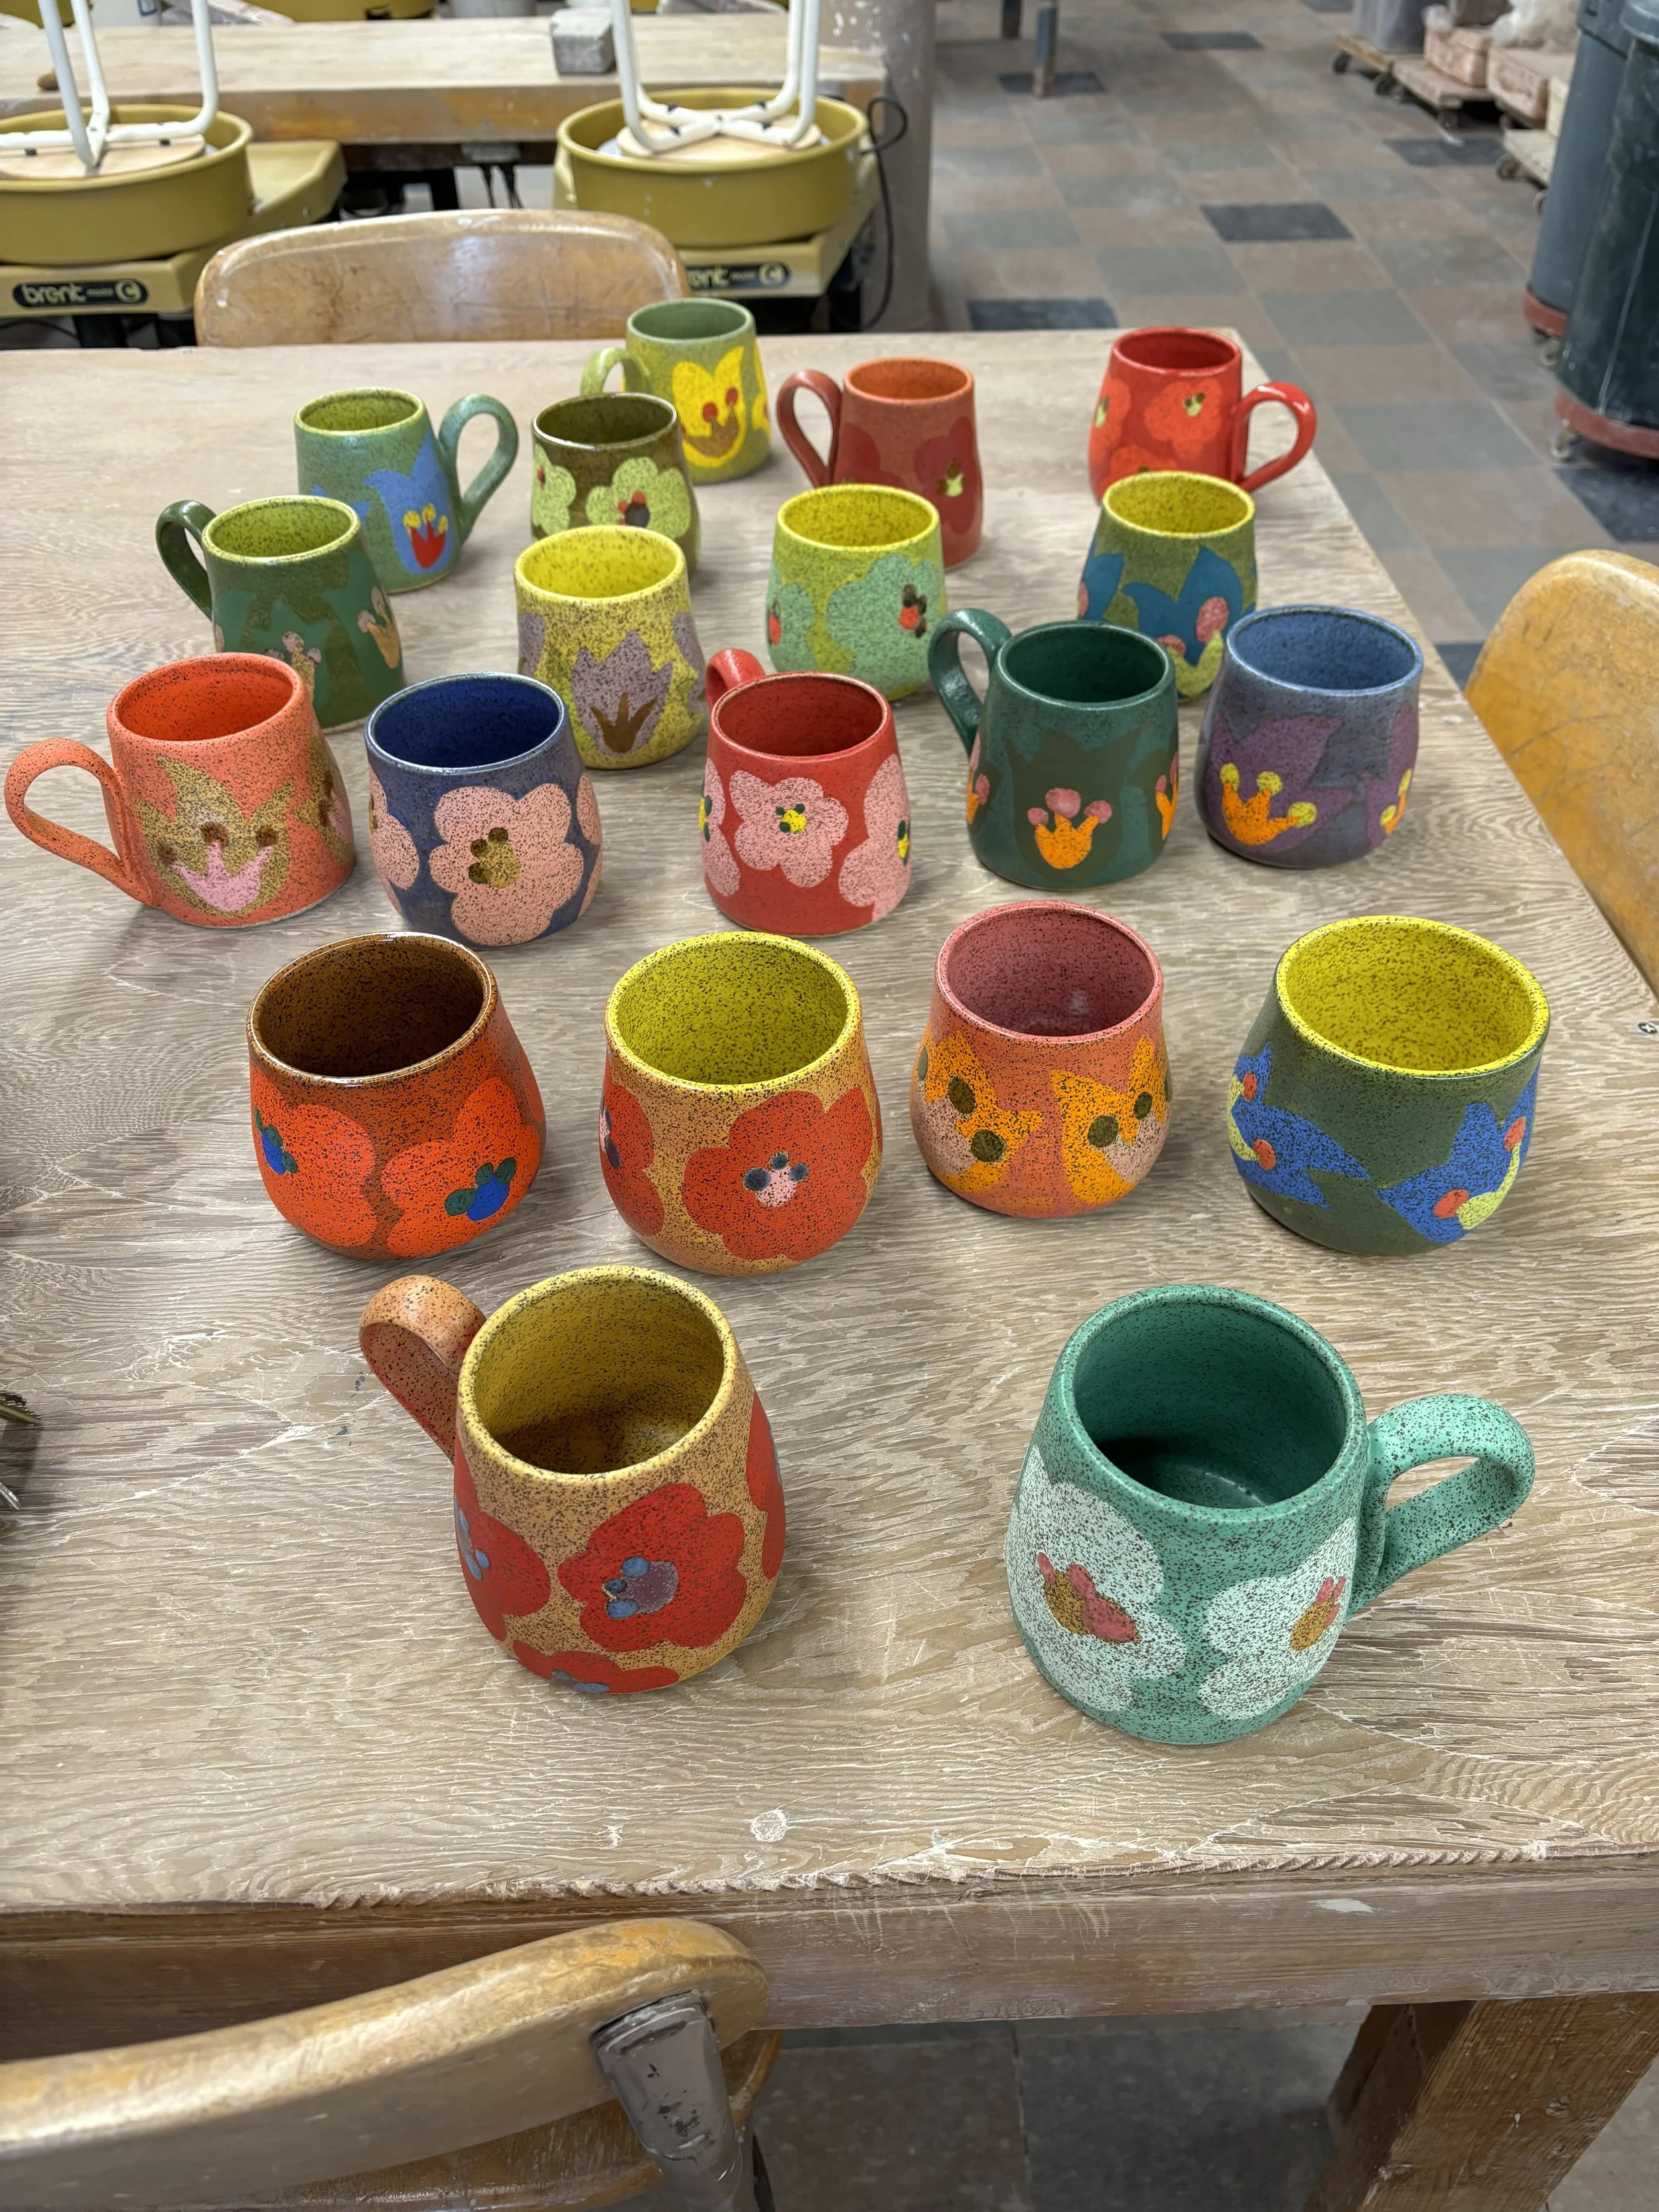
Step 25: Unload your treasure thirty(ish) hours later, after the kiln has cooled.
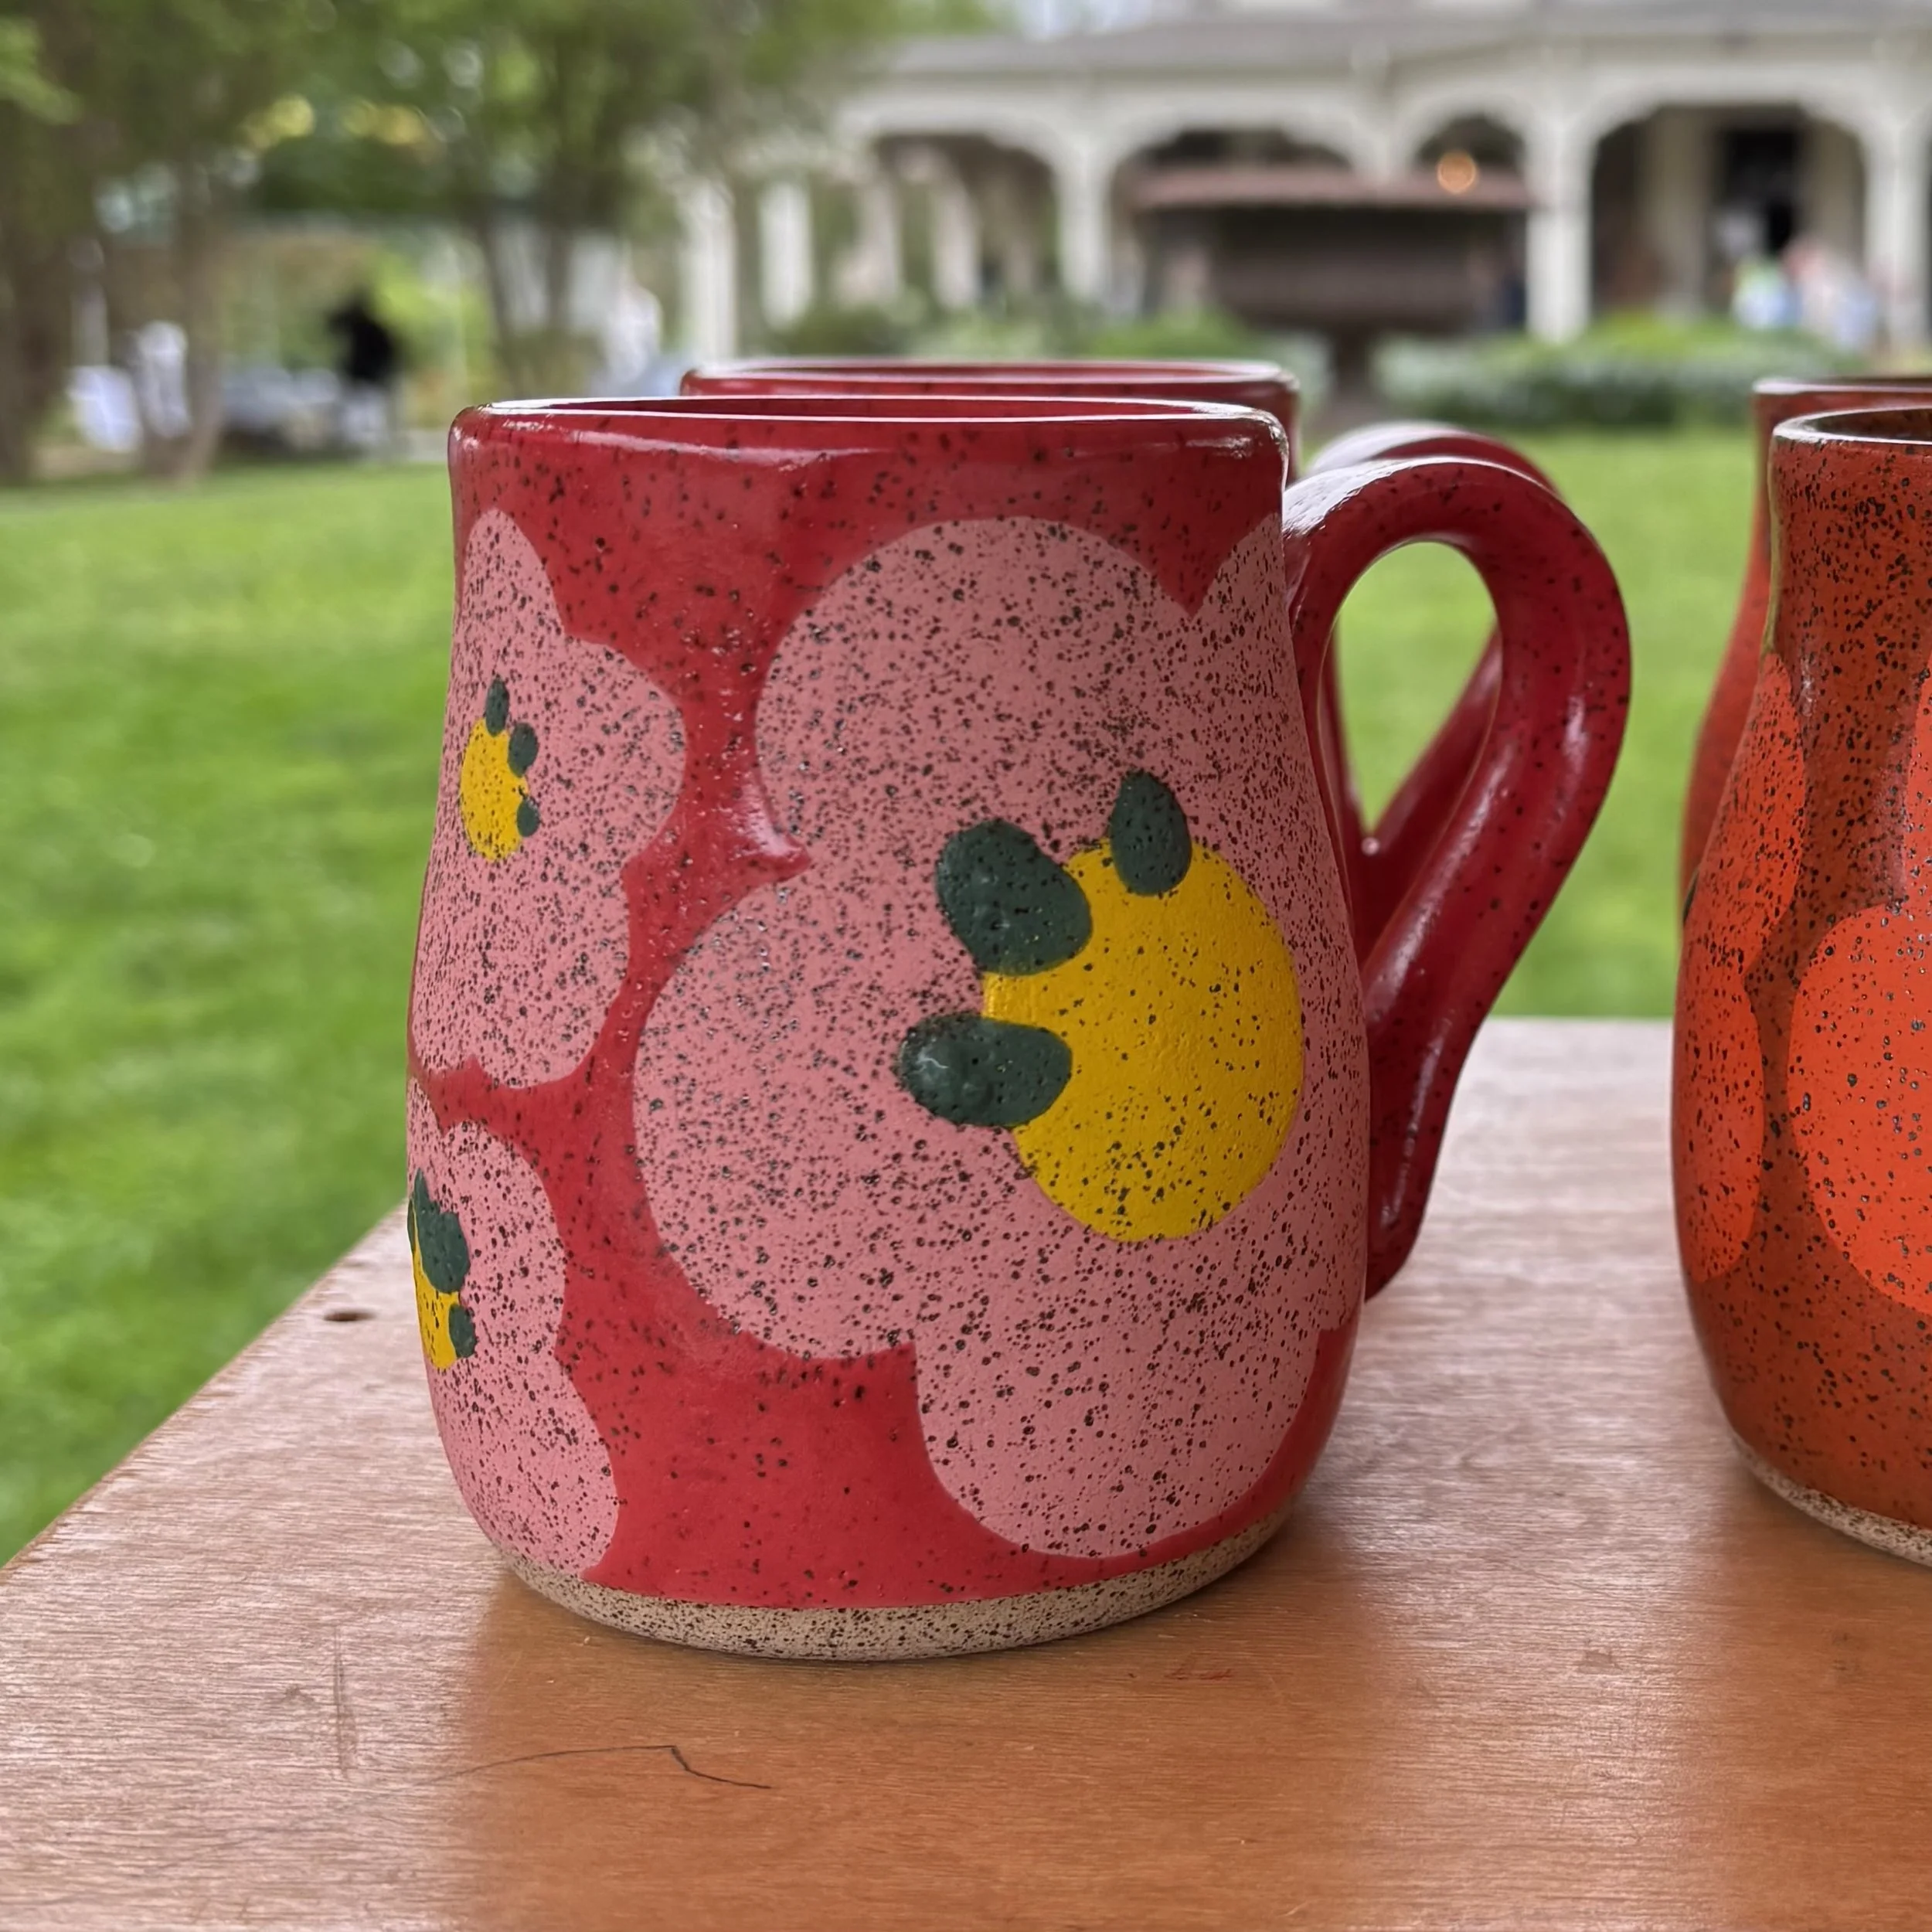
Step 26: Take your mug to market!